Attack from Mars
Mini-Saucer LED KitTM
How to Install the AFM Mini-Saucer LED Kit
Chapter 3: Inserting the LEDs in the saucers
(Click on pictures to enlarge)
|
Our next step is to work on the saucers. I suggest removing all six saucers from the game, and taking them, the supplied saucer units, and the mini-screwdrivers ... and then finding a comfortable chair. You do not need to be by the game to perform this step of the installation. 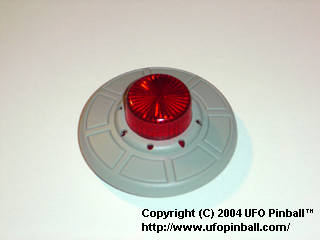
Close up of the holes on the saucers plastics The LEDs are designed to fit snugly into the holes and should be held in by friction. No adhesive should be required. The entire unit expands a little to fit around the red flasher dome. Using the small jewelers flat-head screwdriver, insert each LED into the corresponding hole, and push until they are firmly seated. Repeat for all six saucers. The LED-units may have become slightly misshapen during shipping ... if so, you should reshape the LEDs into a circular pattern before proceeding. Be careful with the LED units, some of the solder joints may be a little sharp. After the lights are installed, bend the legs and solder joints in to lay back flush against the underside of the saucer. If they stick out too far, they may short against some of the metal hardware of the game. 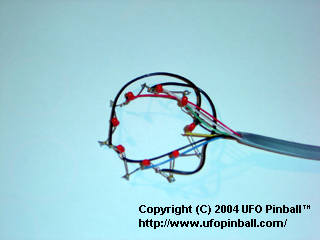
Mini-saucer LED unit 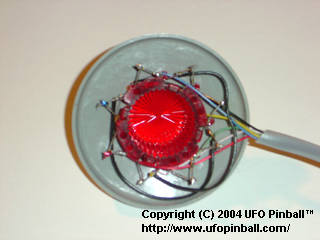
Installing the mini-saucer LED units 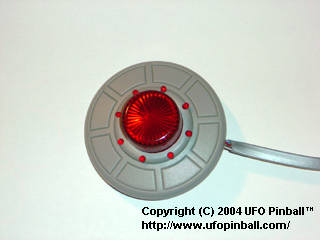
Mini-saucer with the LED unit properly installed Once you have completed all six saucers, it is probably worth testing them to ensure that nothing was broken during installation. You can power-up the game and plug each saucer into the board, one at a time, to test that all the lights are functioning. The opening animation is a simple sequence that cycles through all the LEDs. You can see a sample of the sequence as the first animation on the Features page. When you are finished testing your saucers, turn off your game before moving on to the next step. Chapter 1: Installing the board Chapter 2: Connecting the wire harness Chapter 3: Inserting the LEDs in the saucers Chapter 4: Remounting the saucers back in the game Chapter 5: Connecting the saucers to the board |
Back to the Main Page
Copyright © 2004-2005 UFO PinballTM
www.ufopinball.com