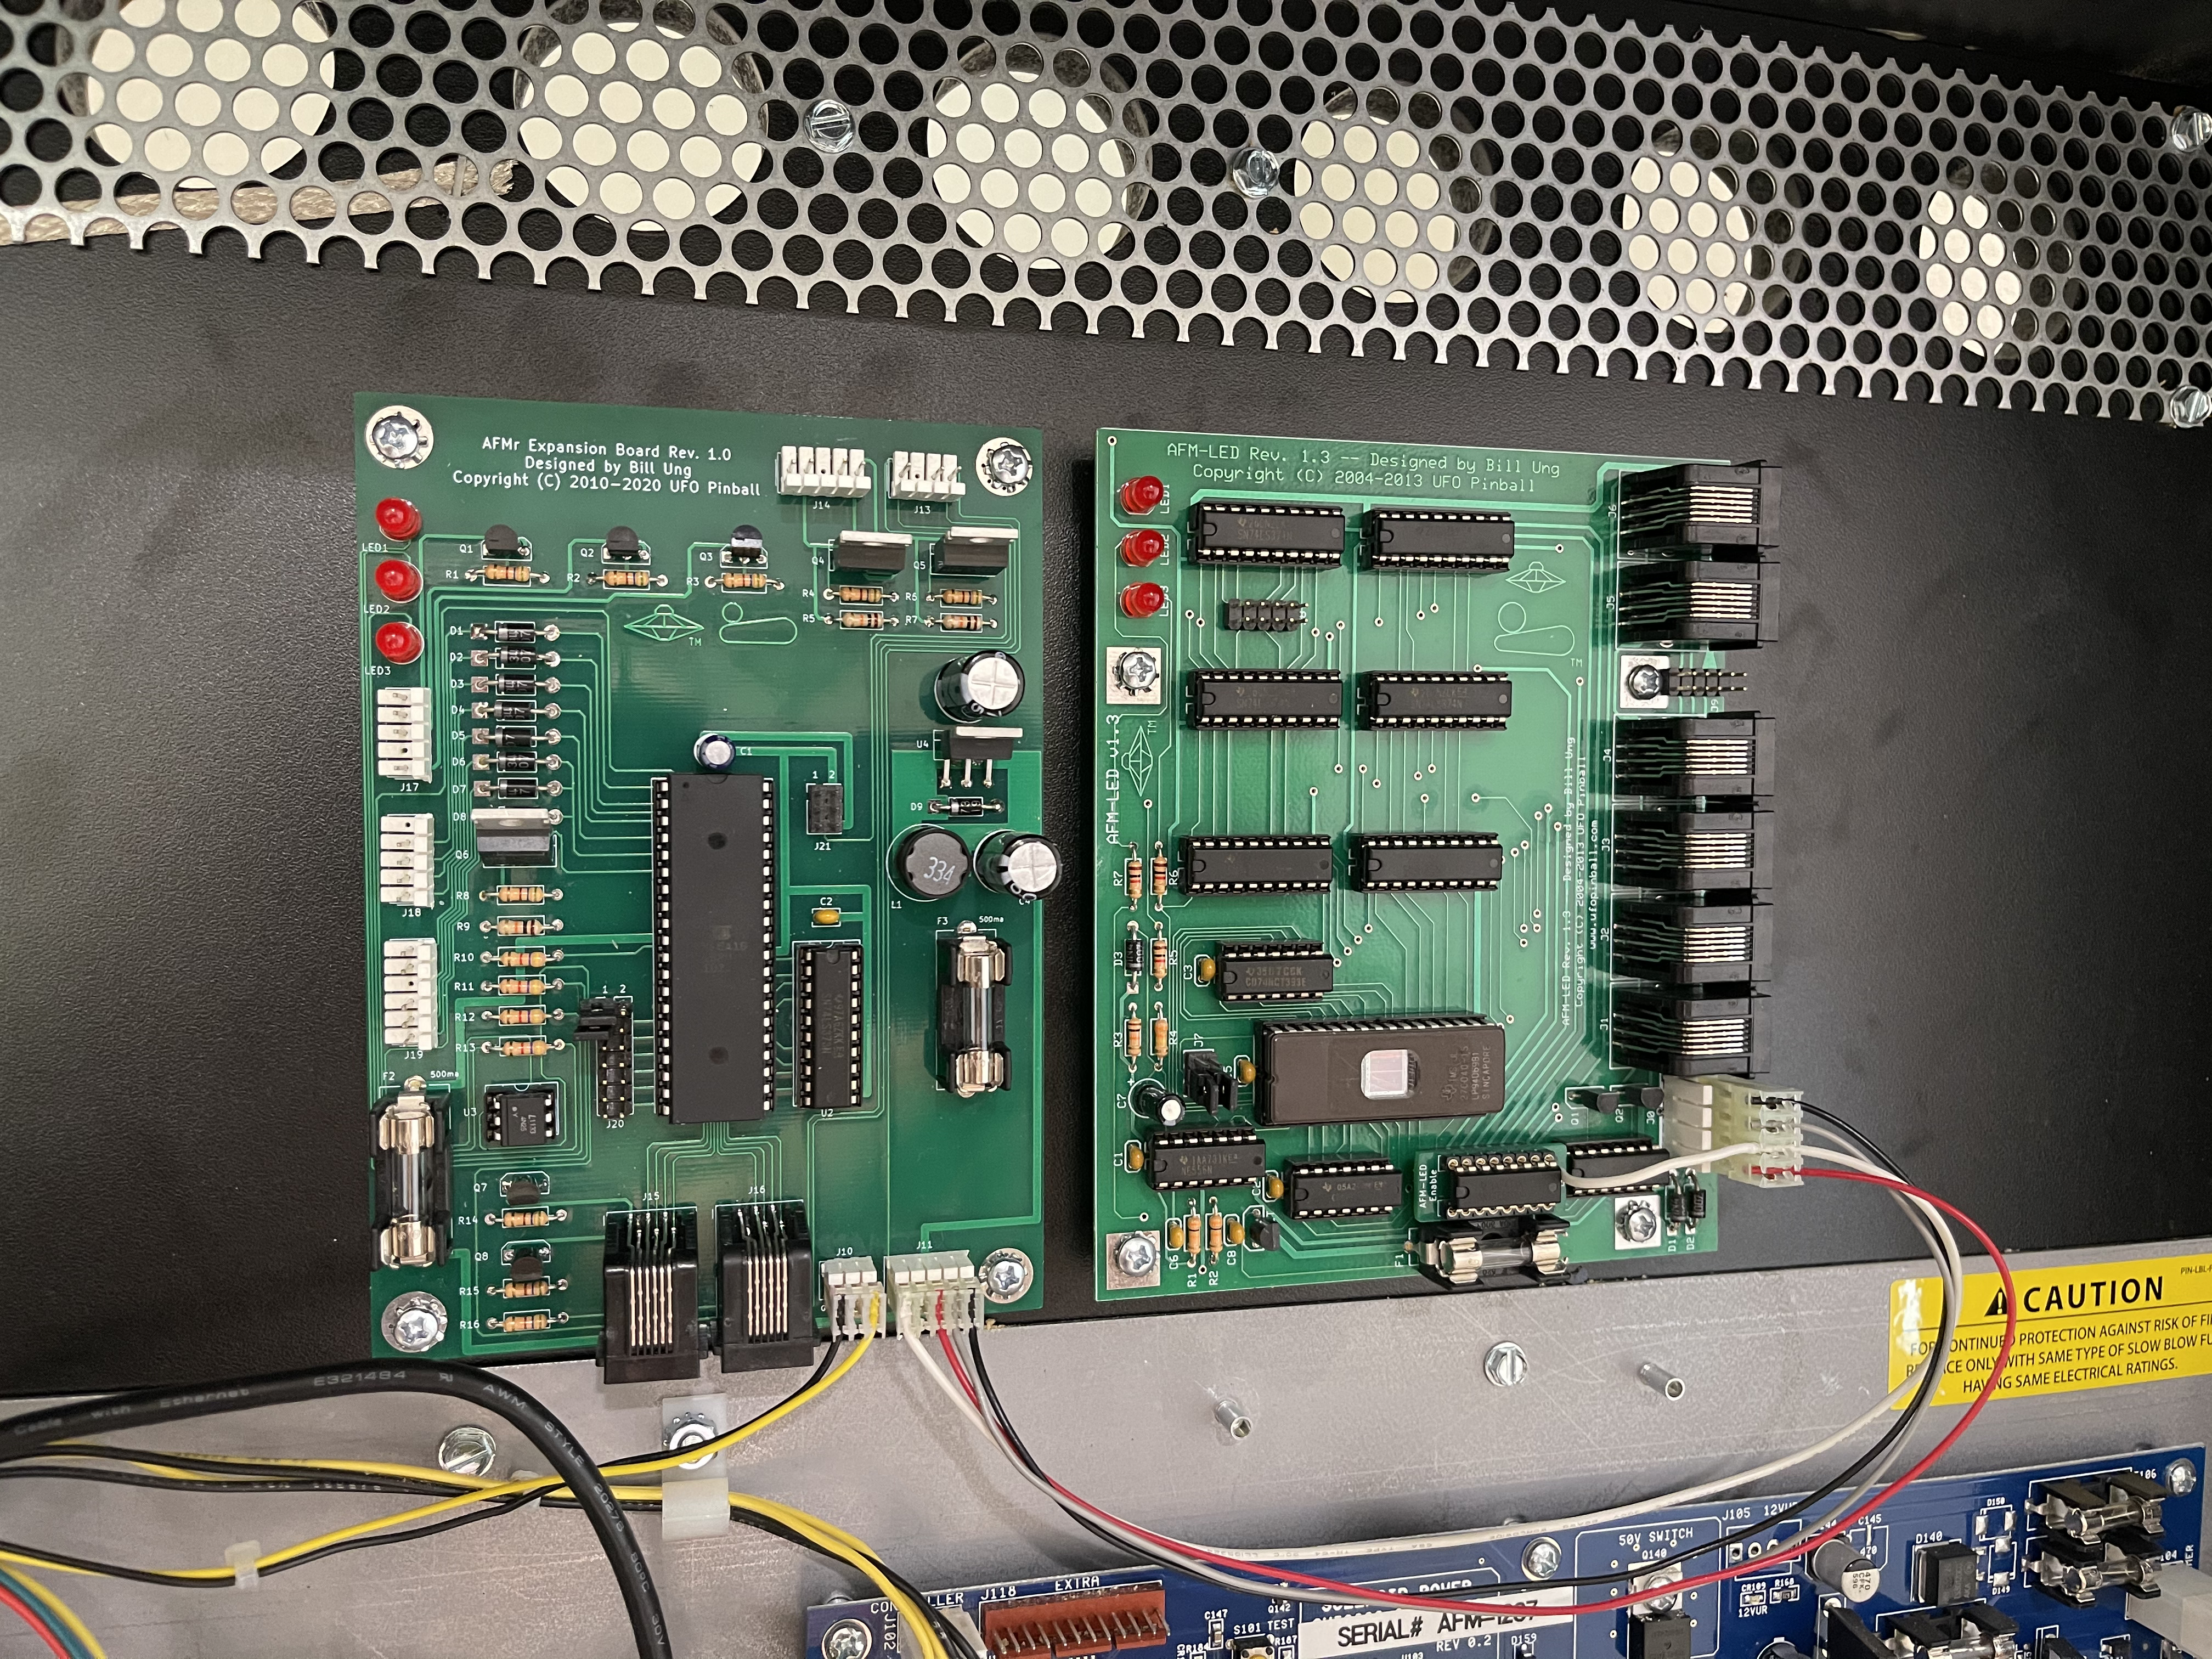
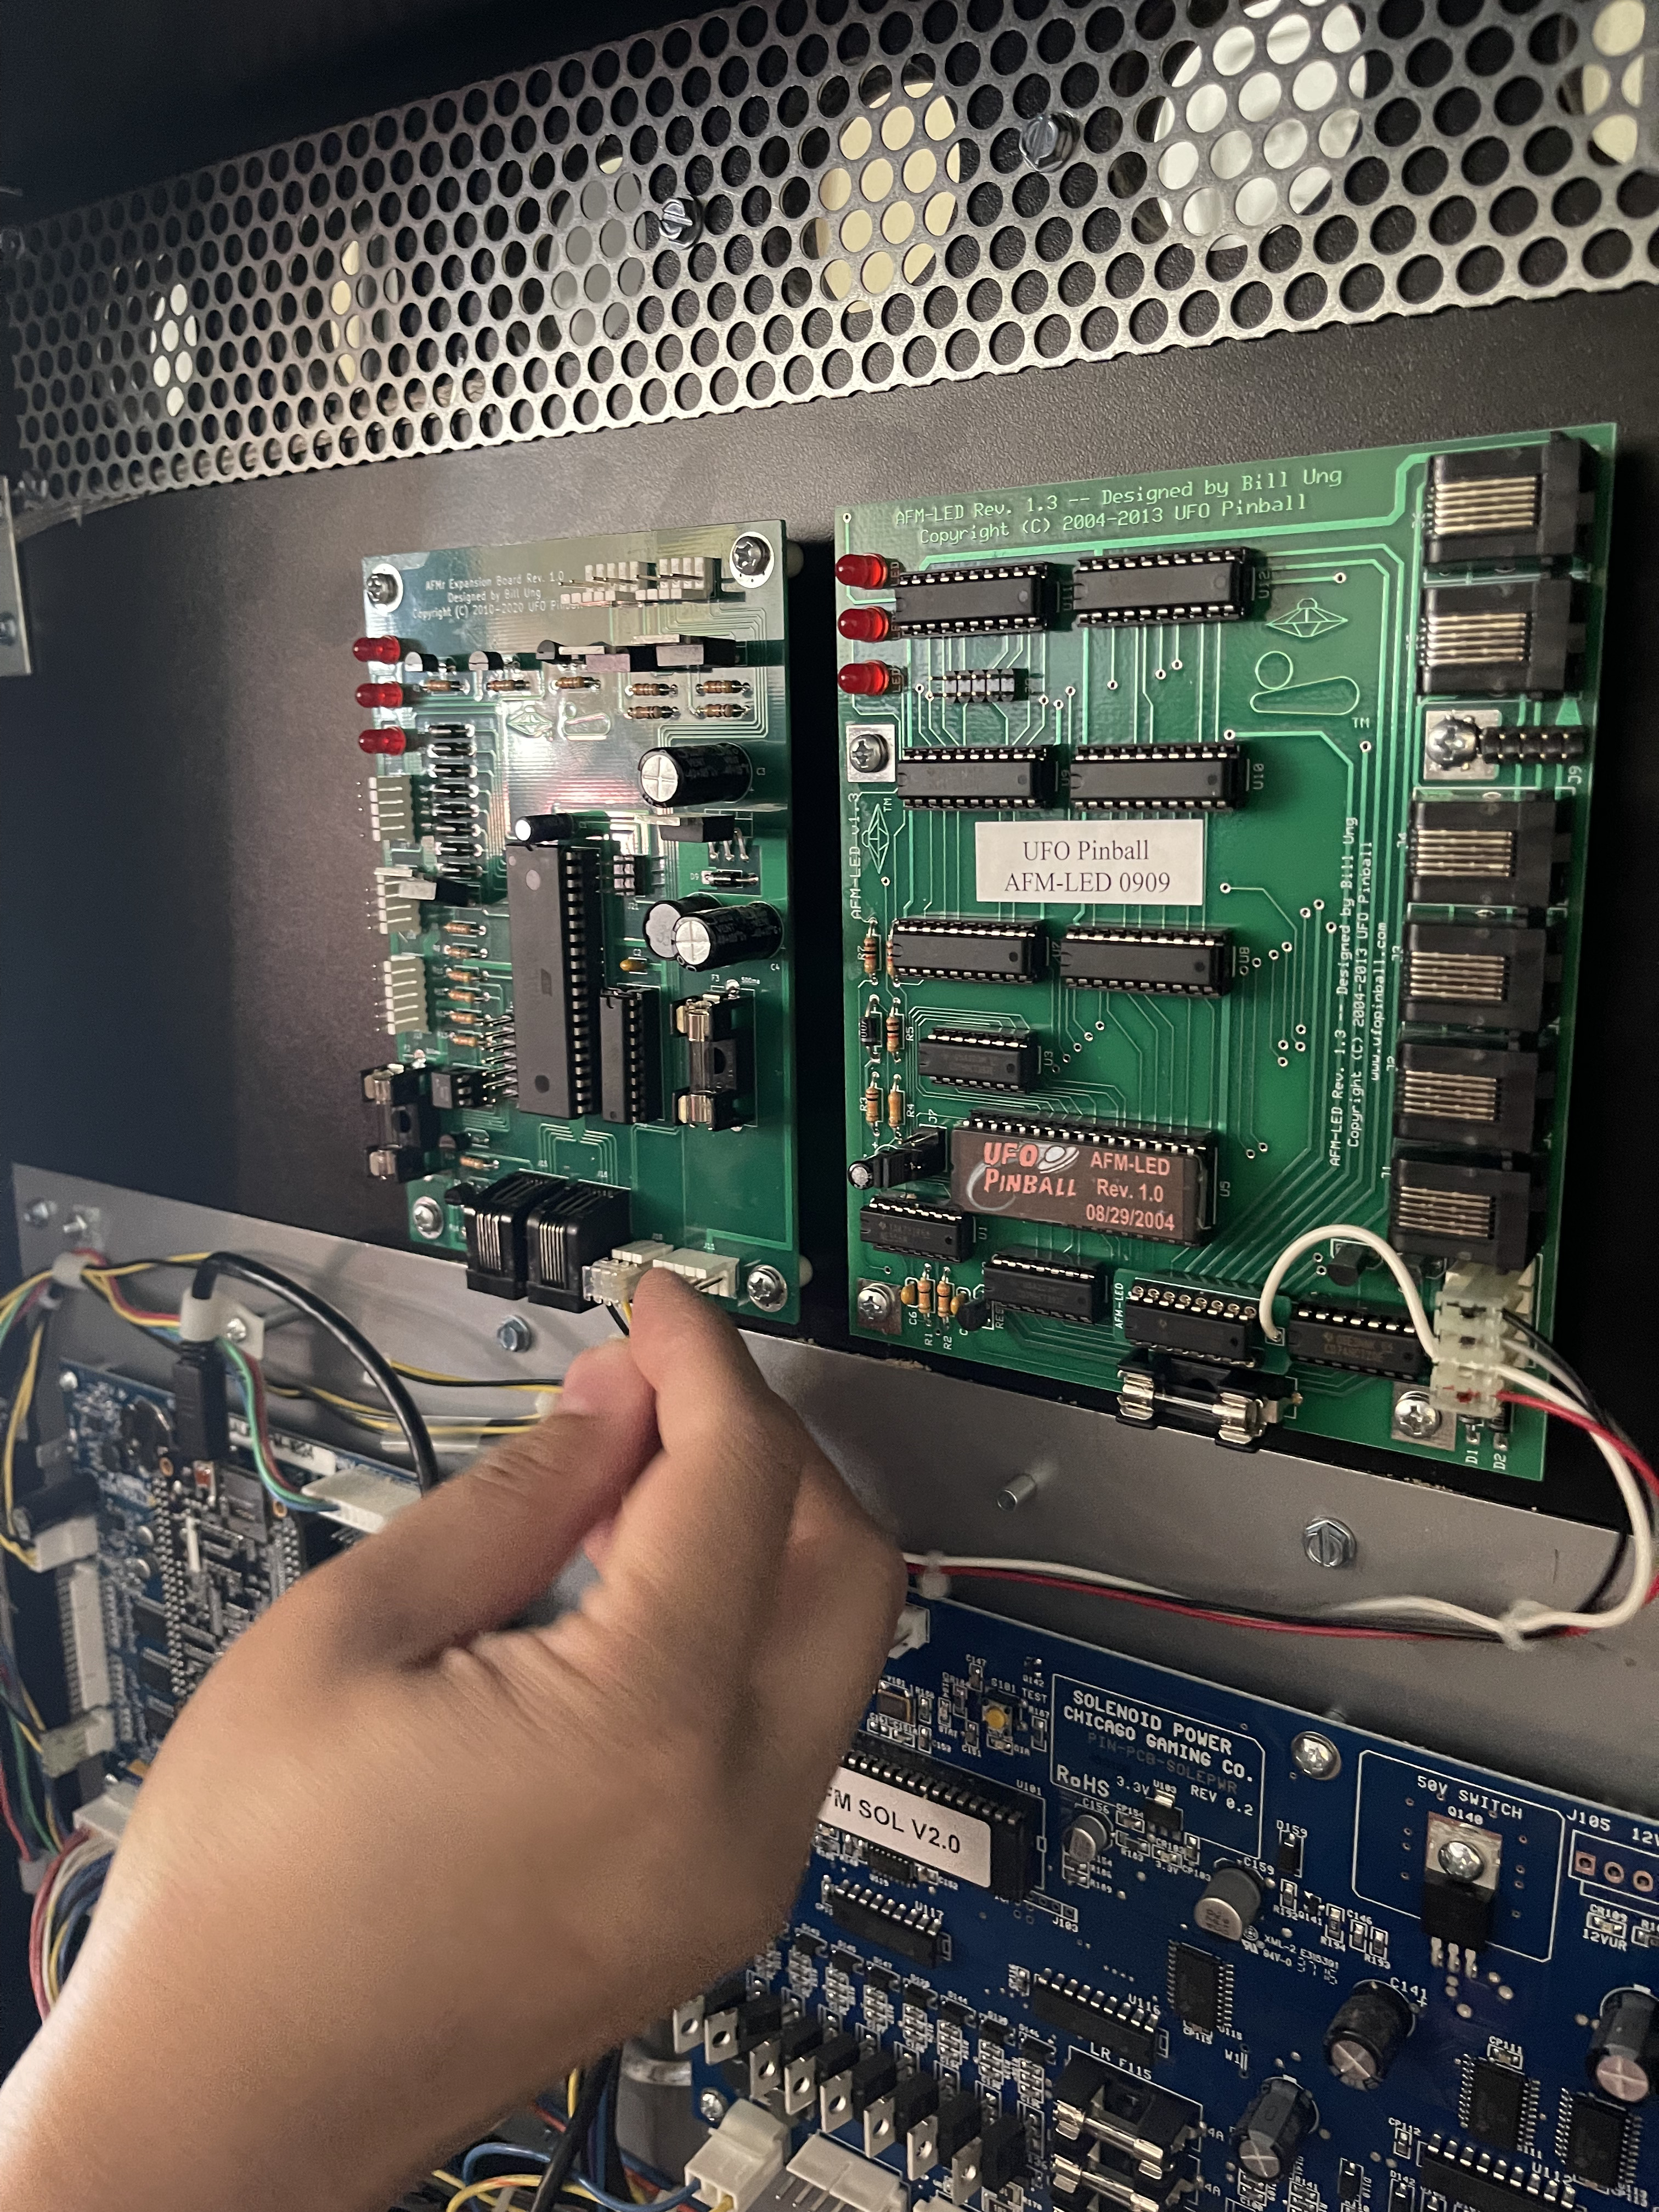
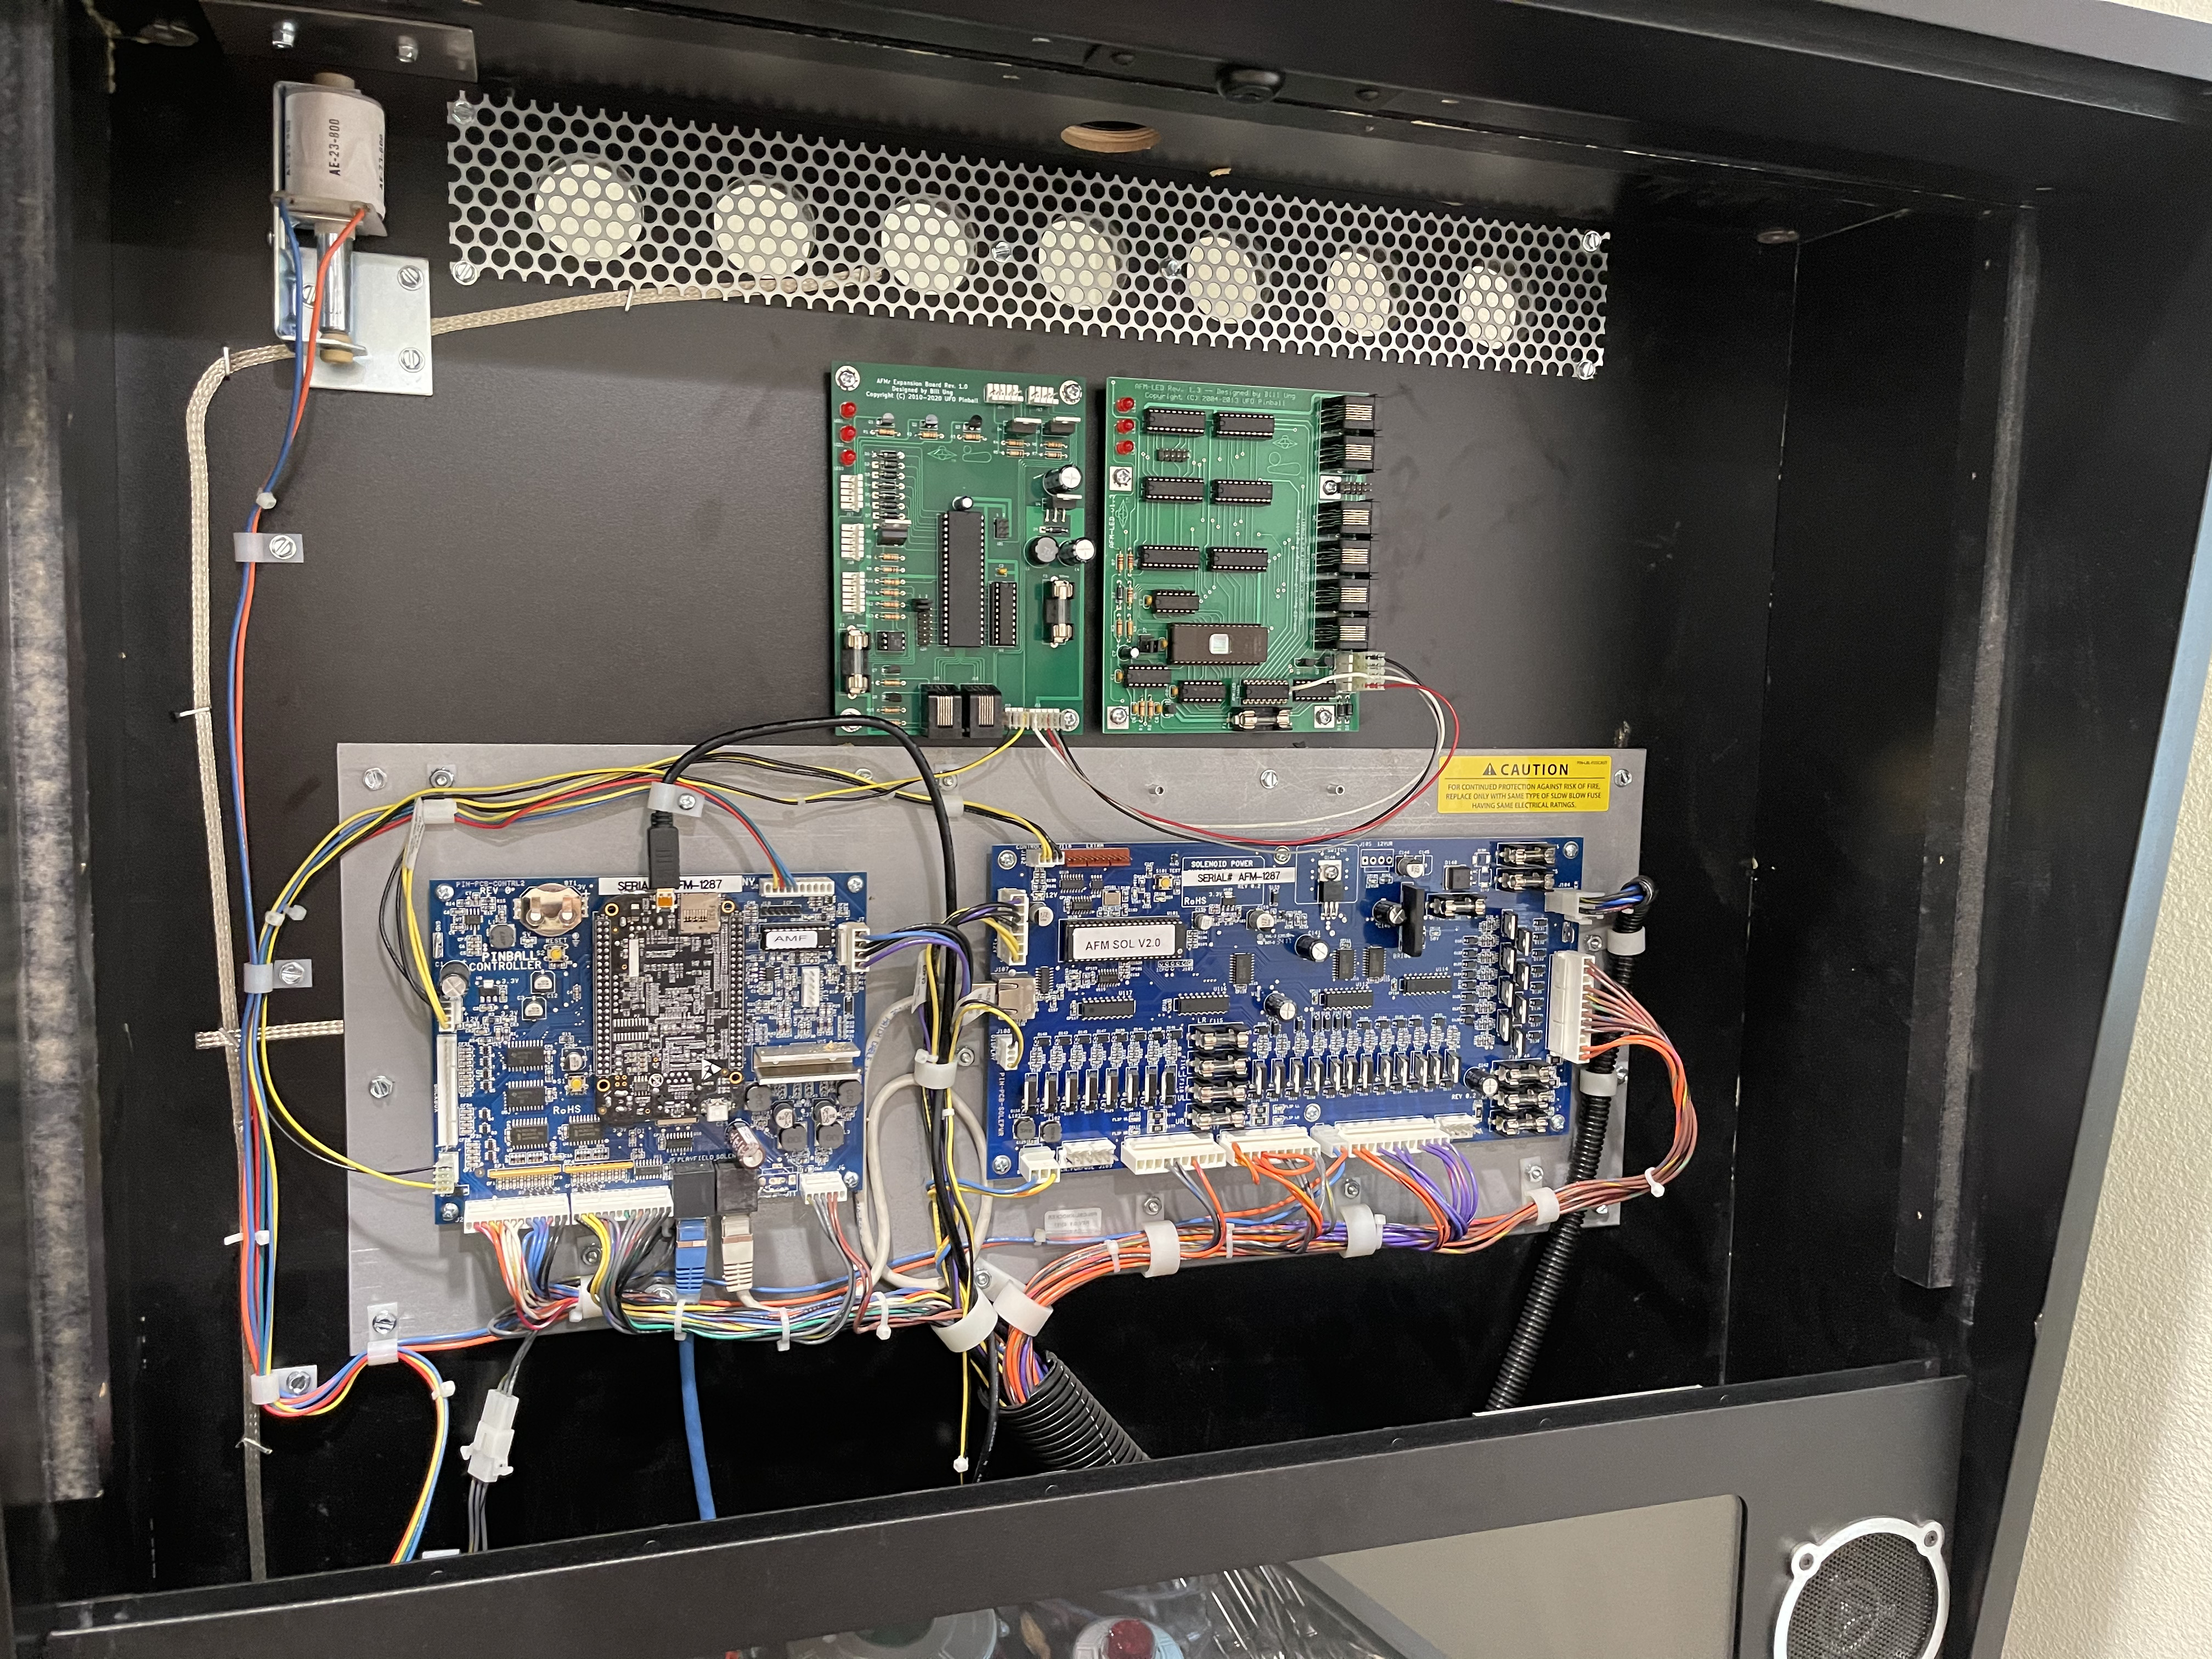
The AFMr boards are installed into the upper backbox area. This shows both boards installed, so if you ordered a different configuration, you may skip over anything that does not apply to your installation.
Before placing boards, the most important thing to do is to measure the power cord (black & yellow wires), and make sure it will reach from the lower left corner of the Pinball Controller board, to the AFMr Expansion Board, or the AFMr Power Switching Board (for mini-saucer only configurations). If you are using a different power port, adjust as needed.
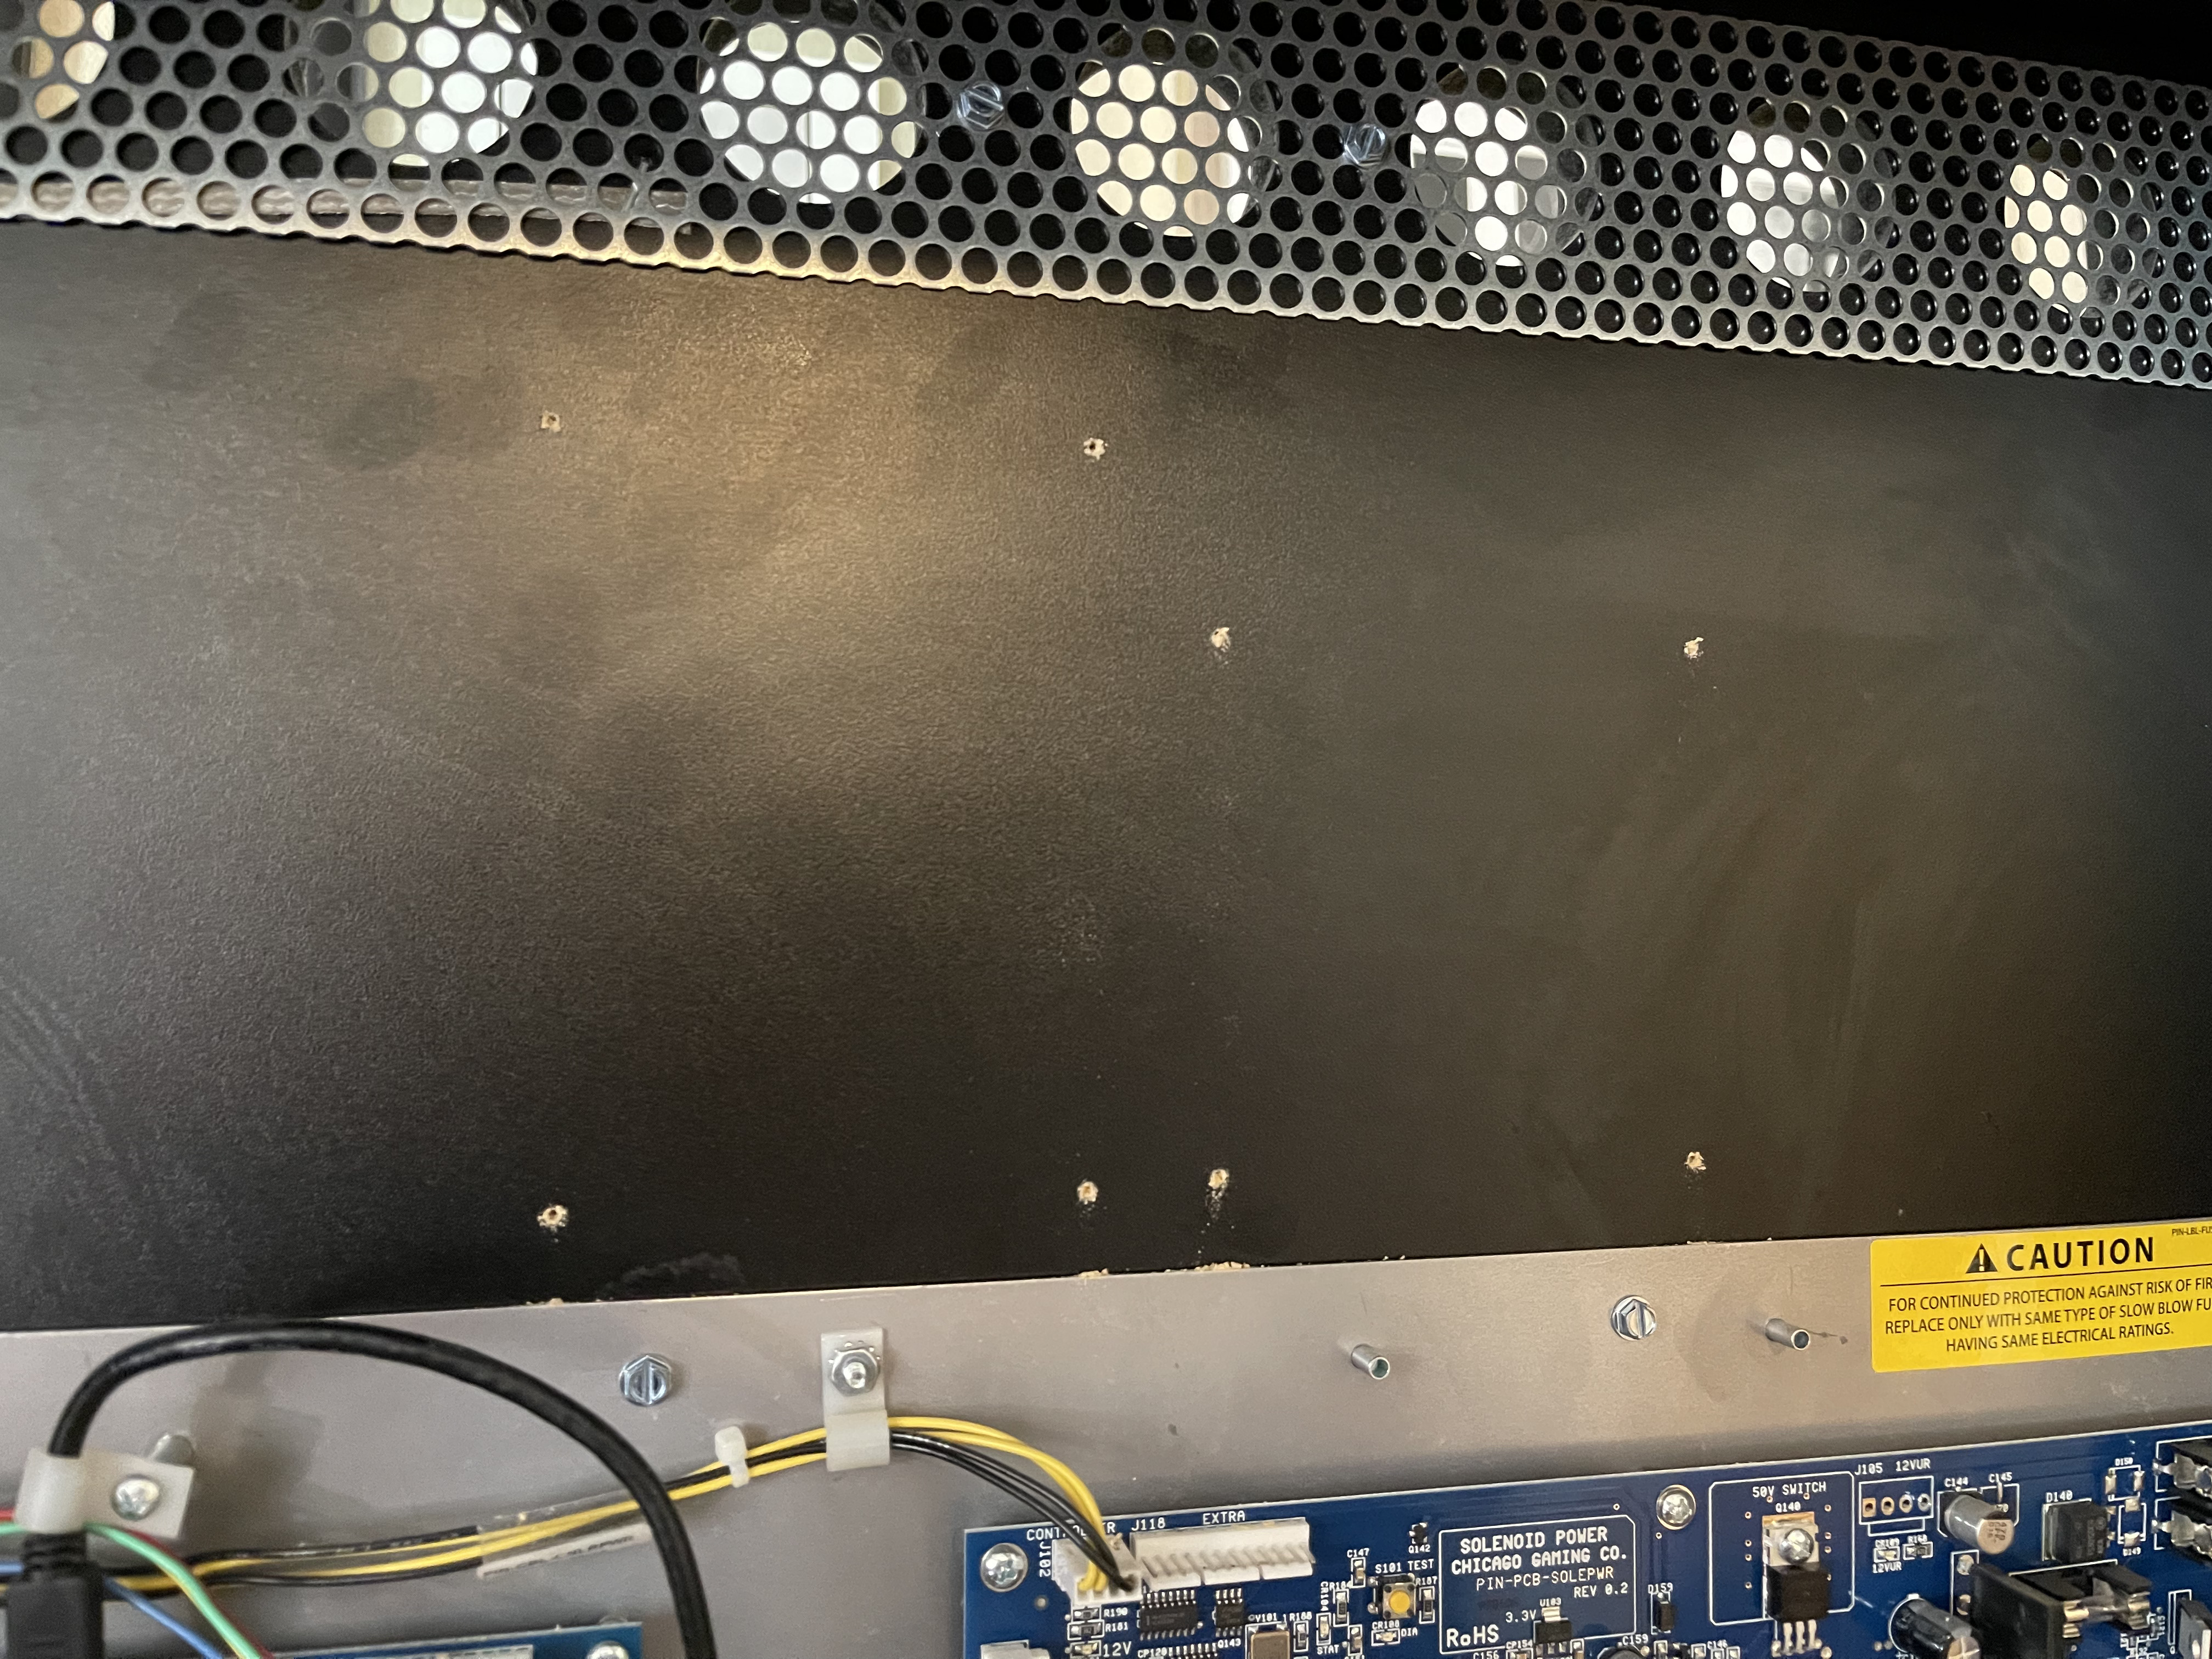
Hold the boards up on the wood area where you plan to install them. Create pilot holes using the screw holes as a guide. Mount the boards, then connect the main power cable from the Pinball Controller Board, to the AFMr kit.
If you have a mini-saucer board, connect the power cable (black, red, grey & white) between the two boards. Be sure not to disturb the white wire connecting to the mini 74HCT138 mounting board.
Connect the main power cable (black & yellow) from the AFMr kit to the open port on the Pinball Controller Board.
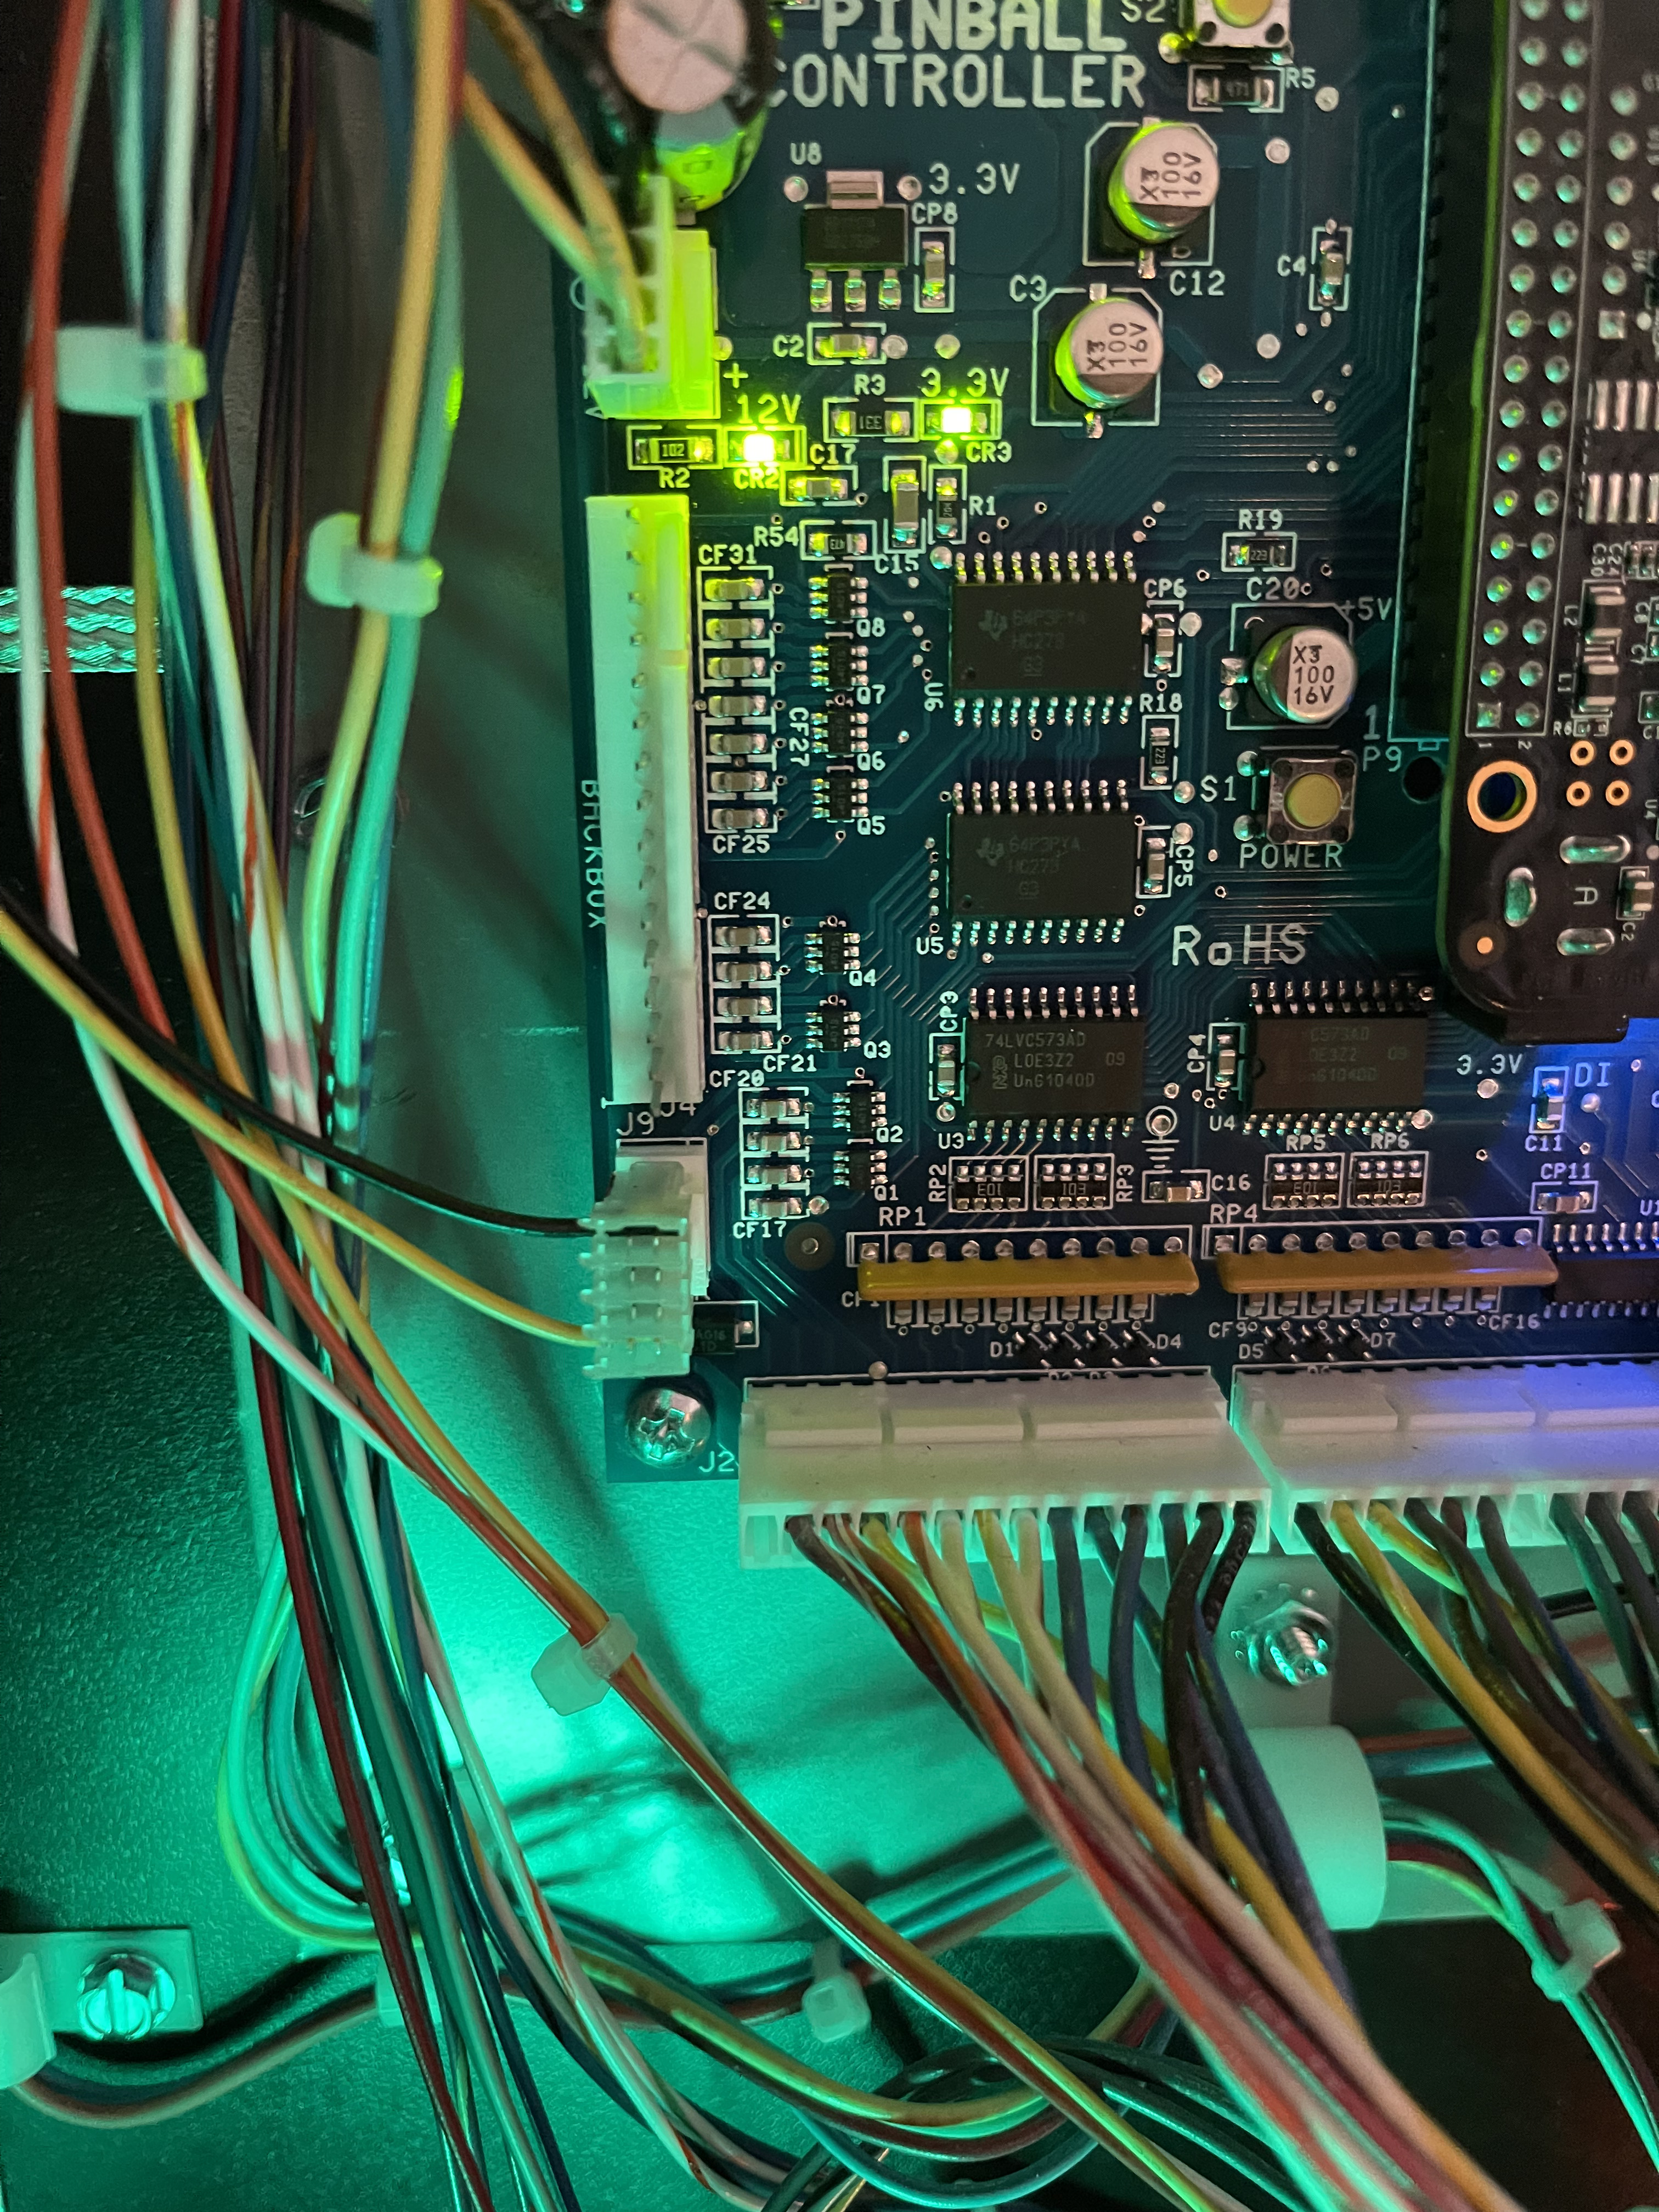
Once your boards are installed, and power is connected, you may power up the game to ensure both boards are functioning properly. Top LED should be on solid, middle LED should be flashing. Bottom LED is not important at this time.
Jump to another section:
Chapter 1: Tools and preparation
Chapter 2: Mounting the board(s) and connecting power
Chapter 3: Inserting LEDs in the Mini-Saucers
Chapter 4: Installing the mini-saucers back in the game
Chapter 5: Setting up the Hallway LEDs
Chapter 6: Running wiring harnesses under the playfield
Chapter 7: Connecting the Backglass GI
Chapter 8: Testing and jumper settings
Chapter 9: Troubleshooting
|