Attack from Mars (Remake)
Mini-Saucer and Expansion KitTM
Chapter 5: Setting up the Hallway LEDs
(Click on pictures to enlarge)
|
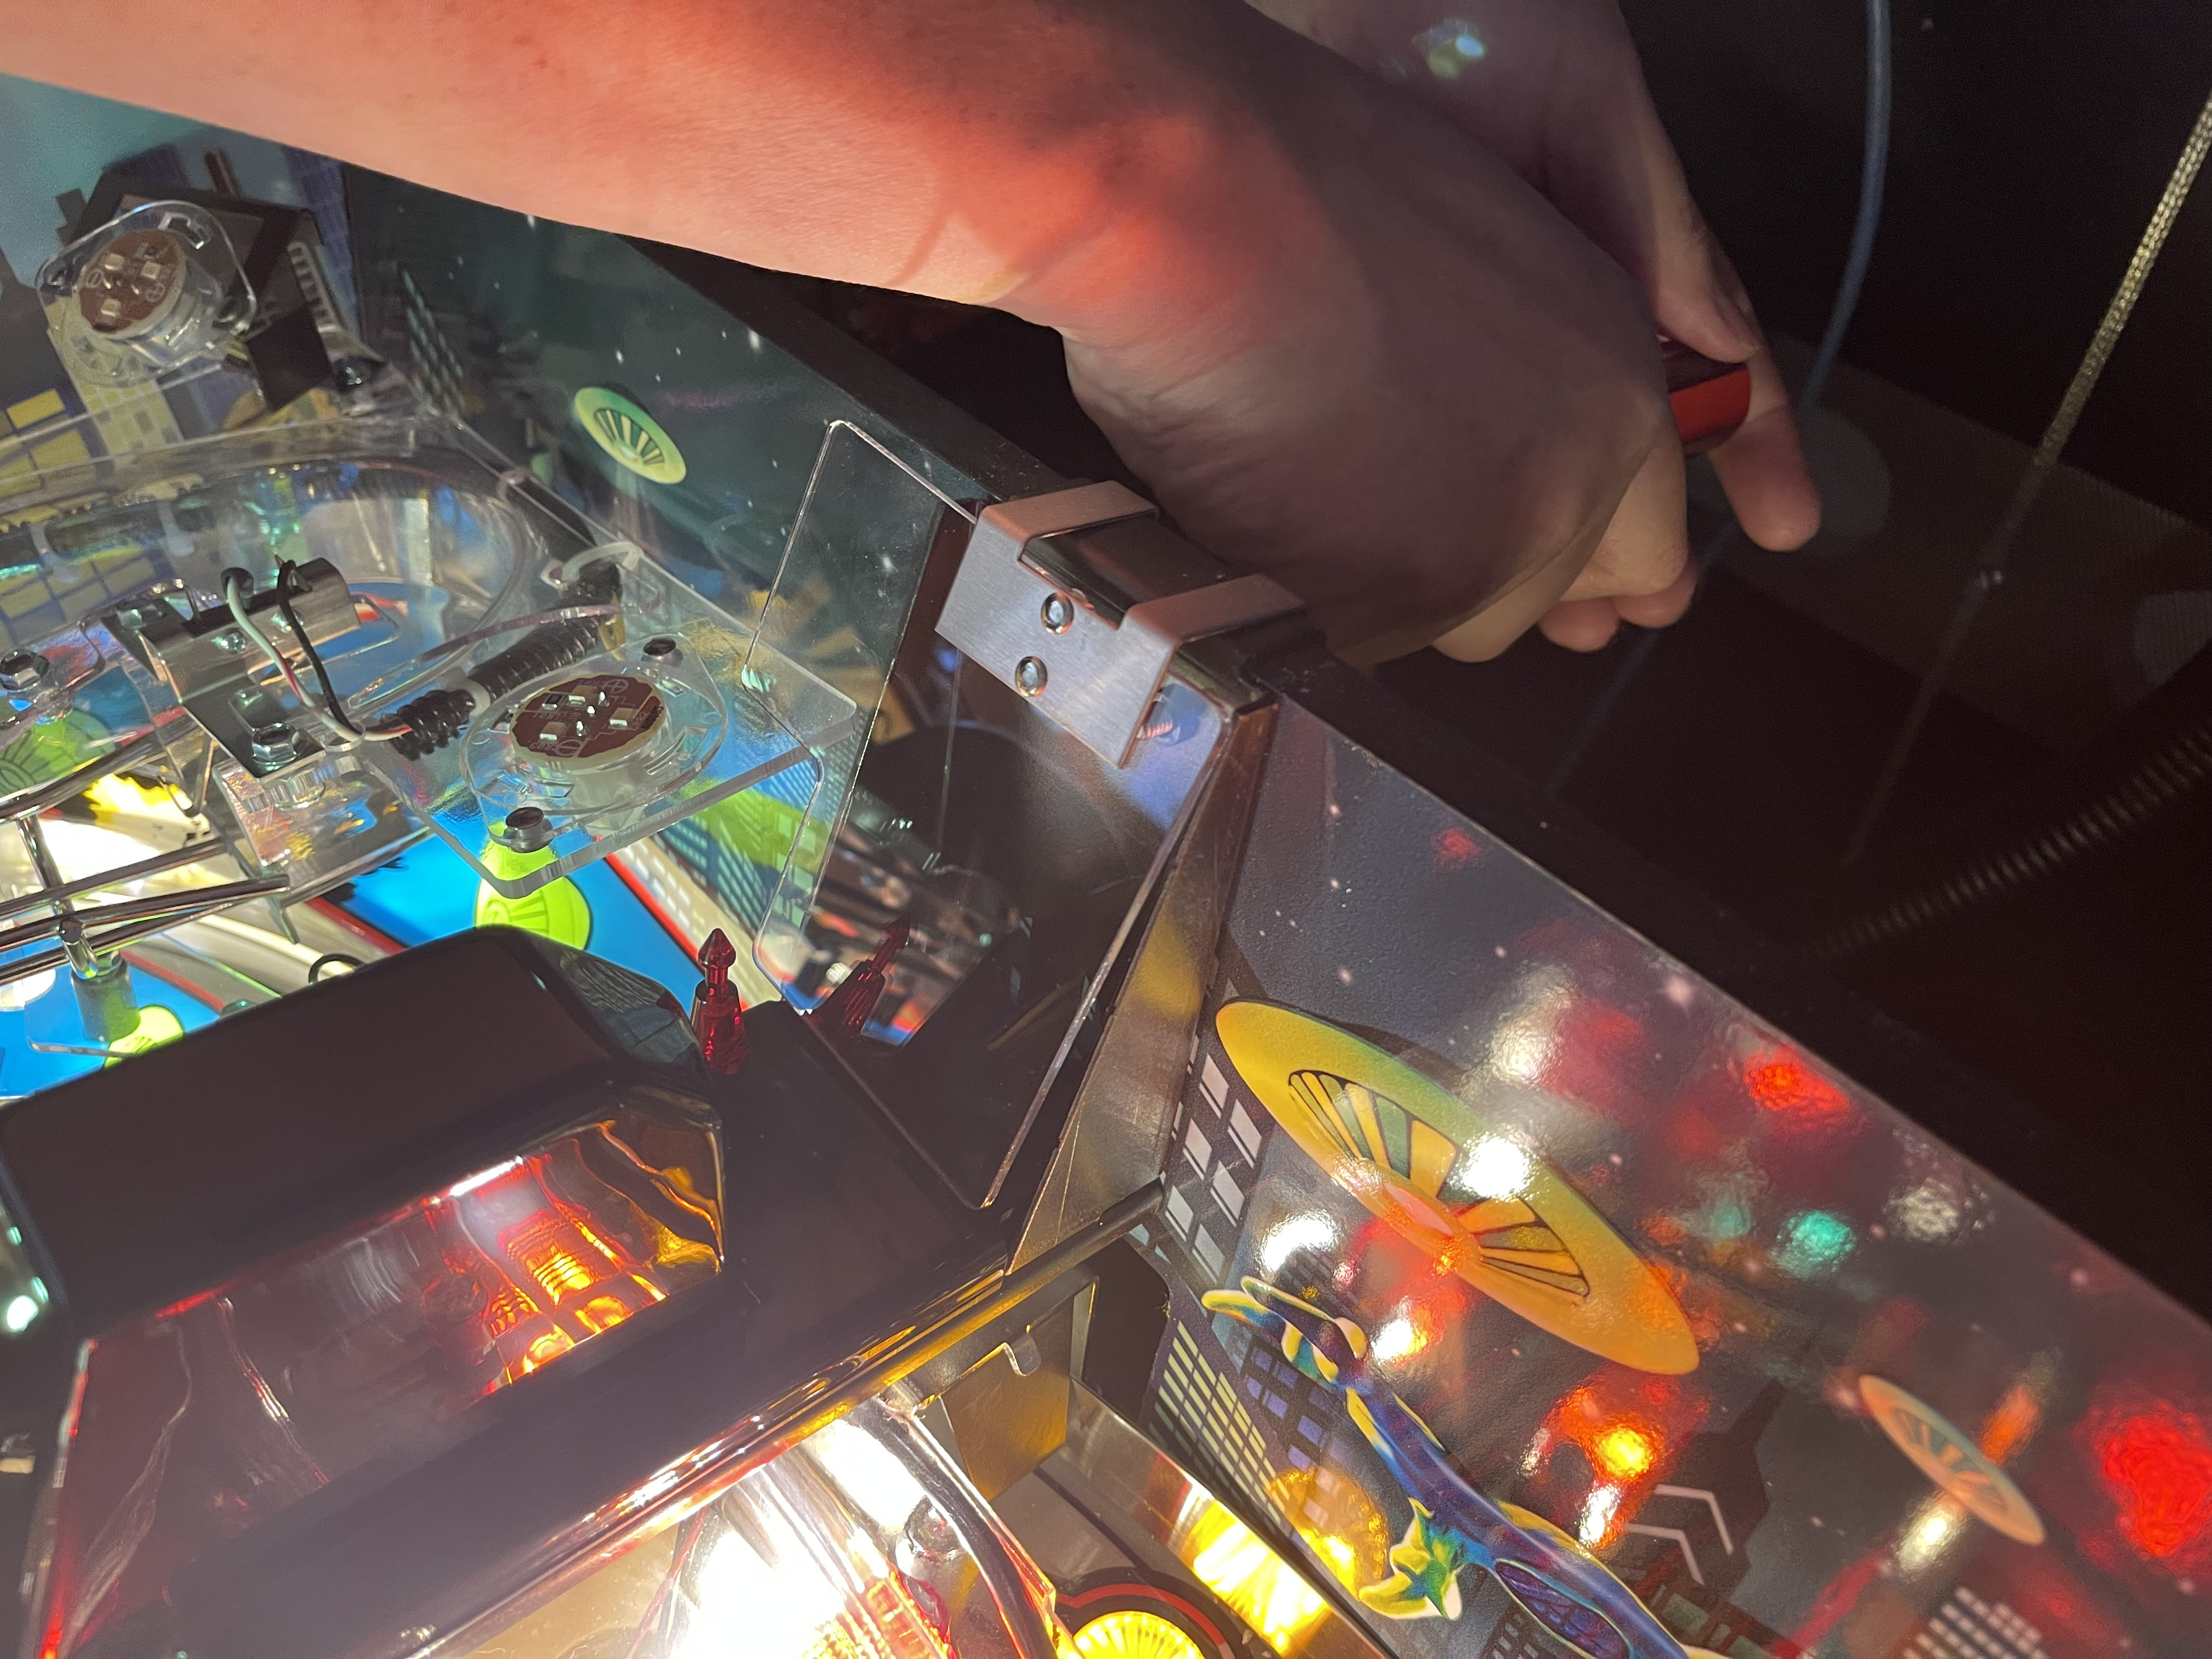
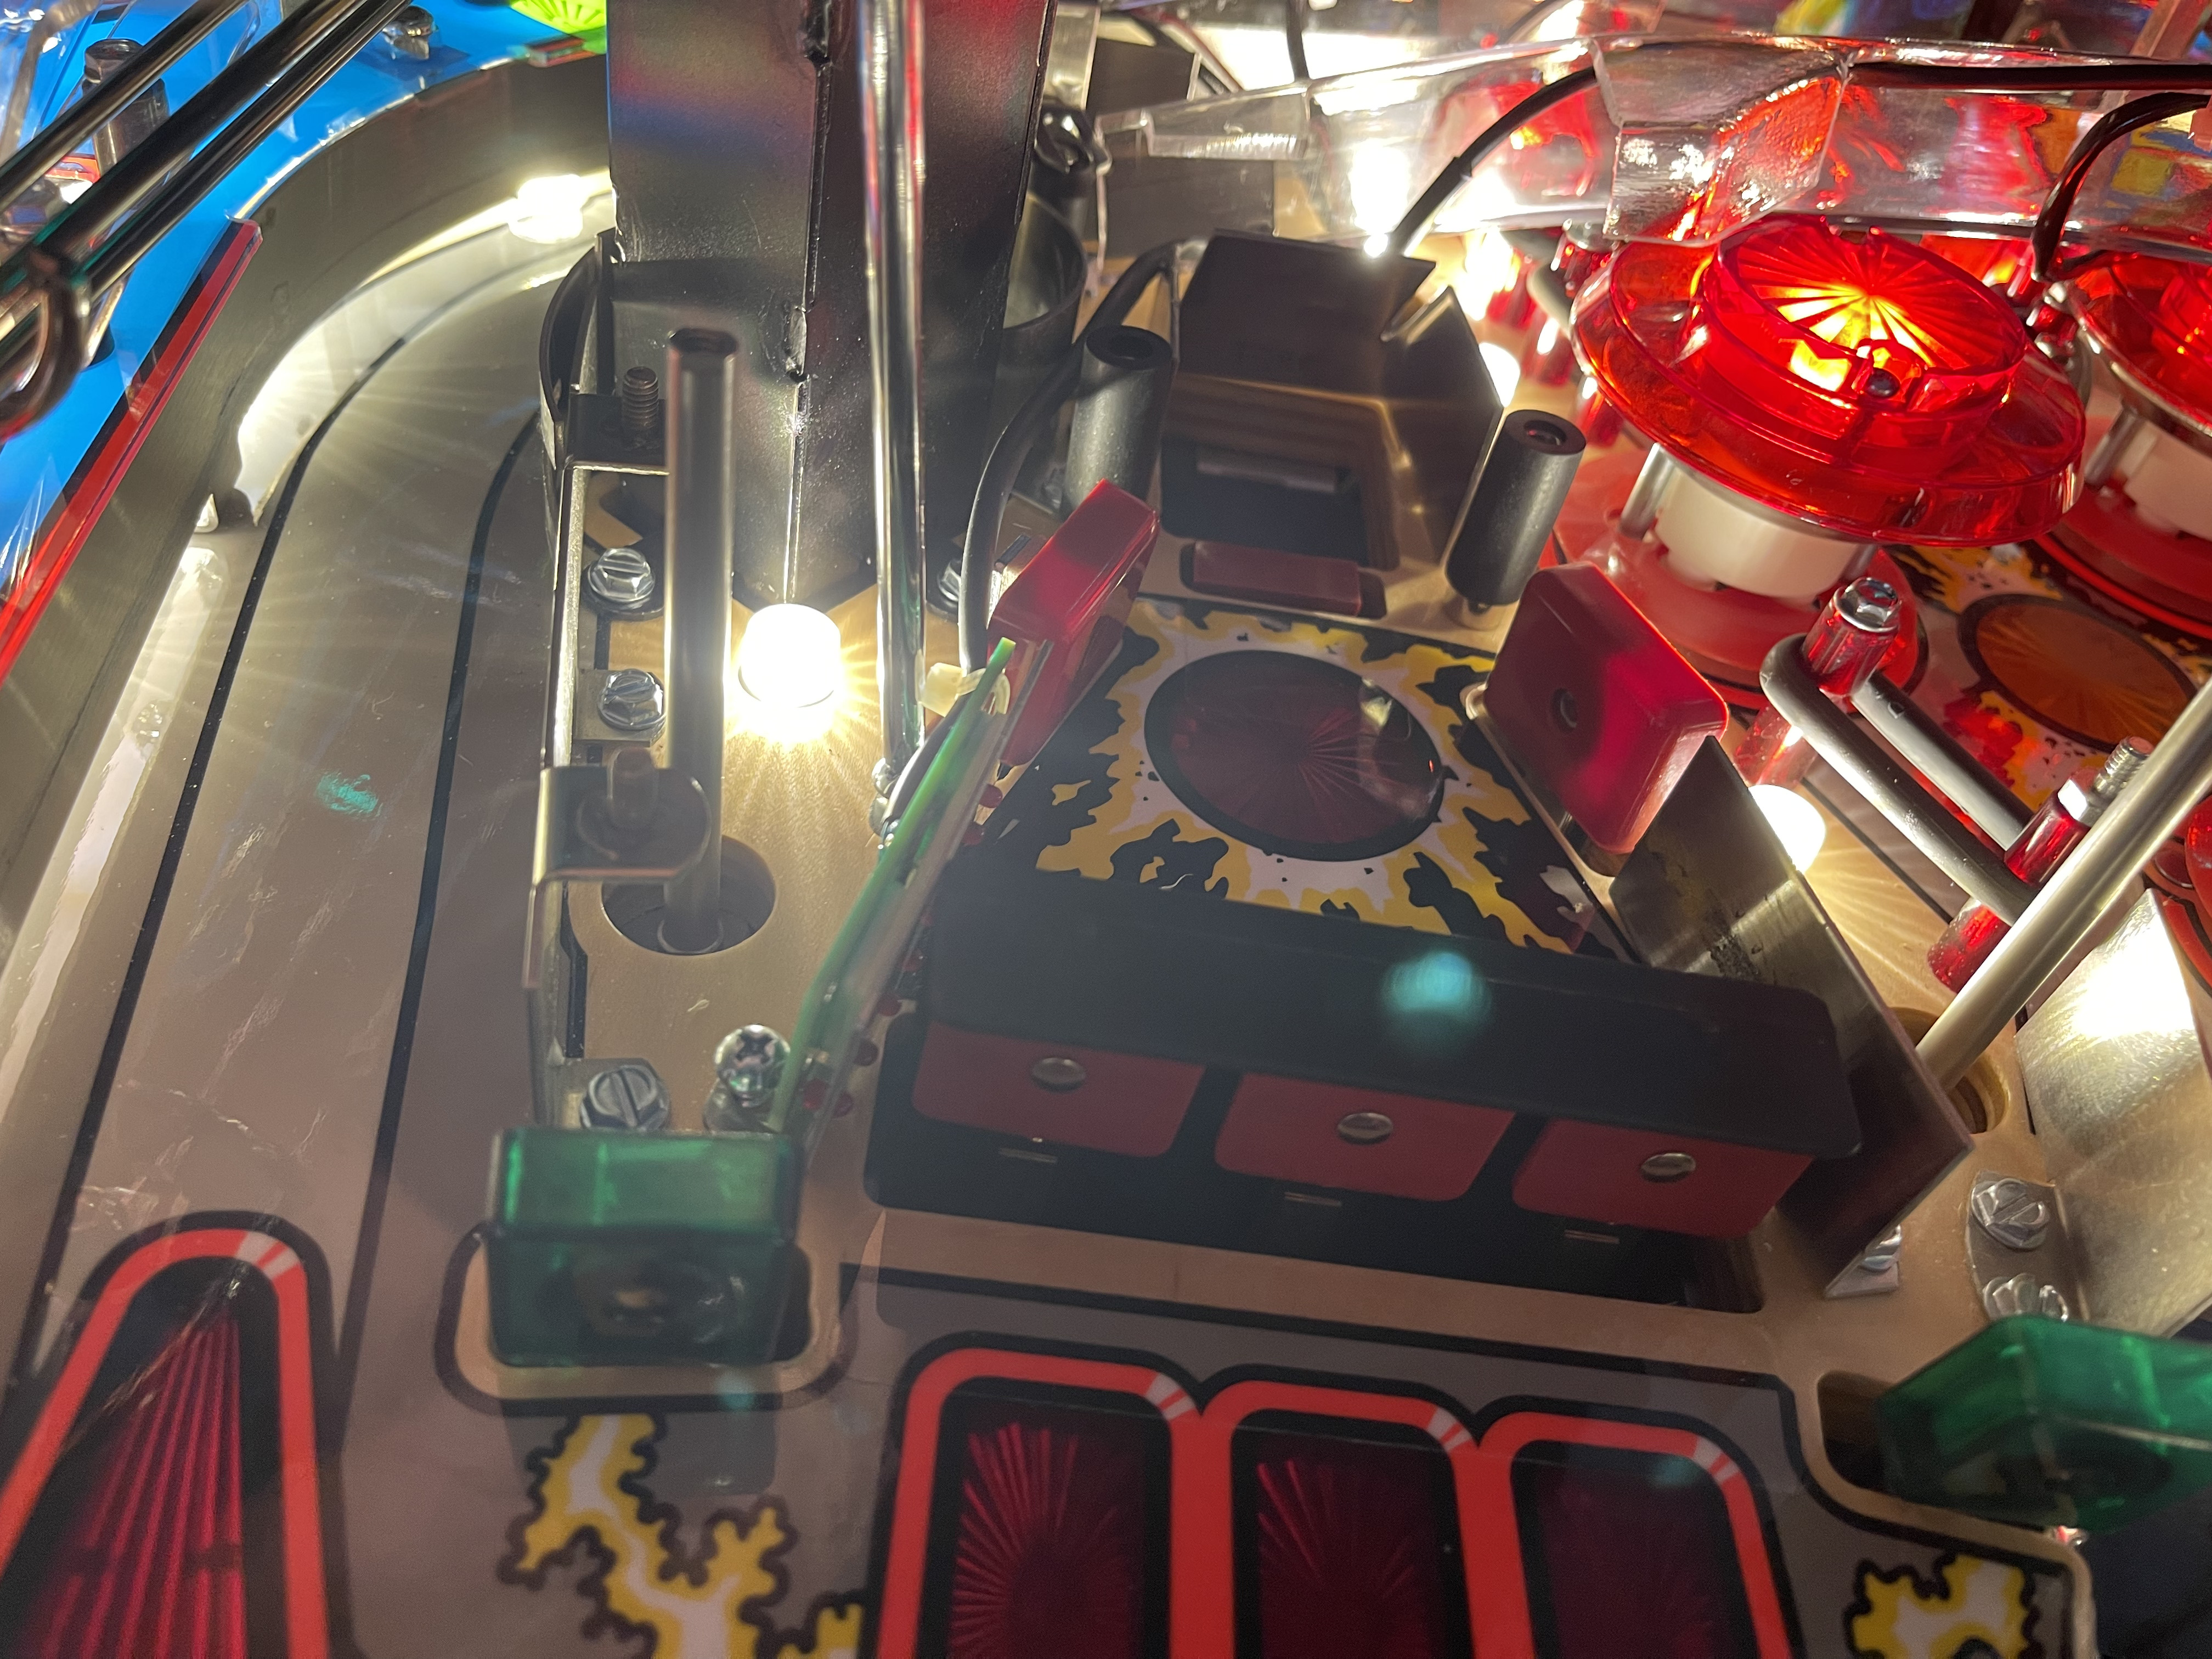
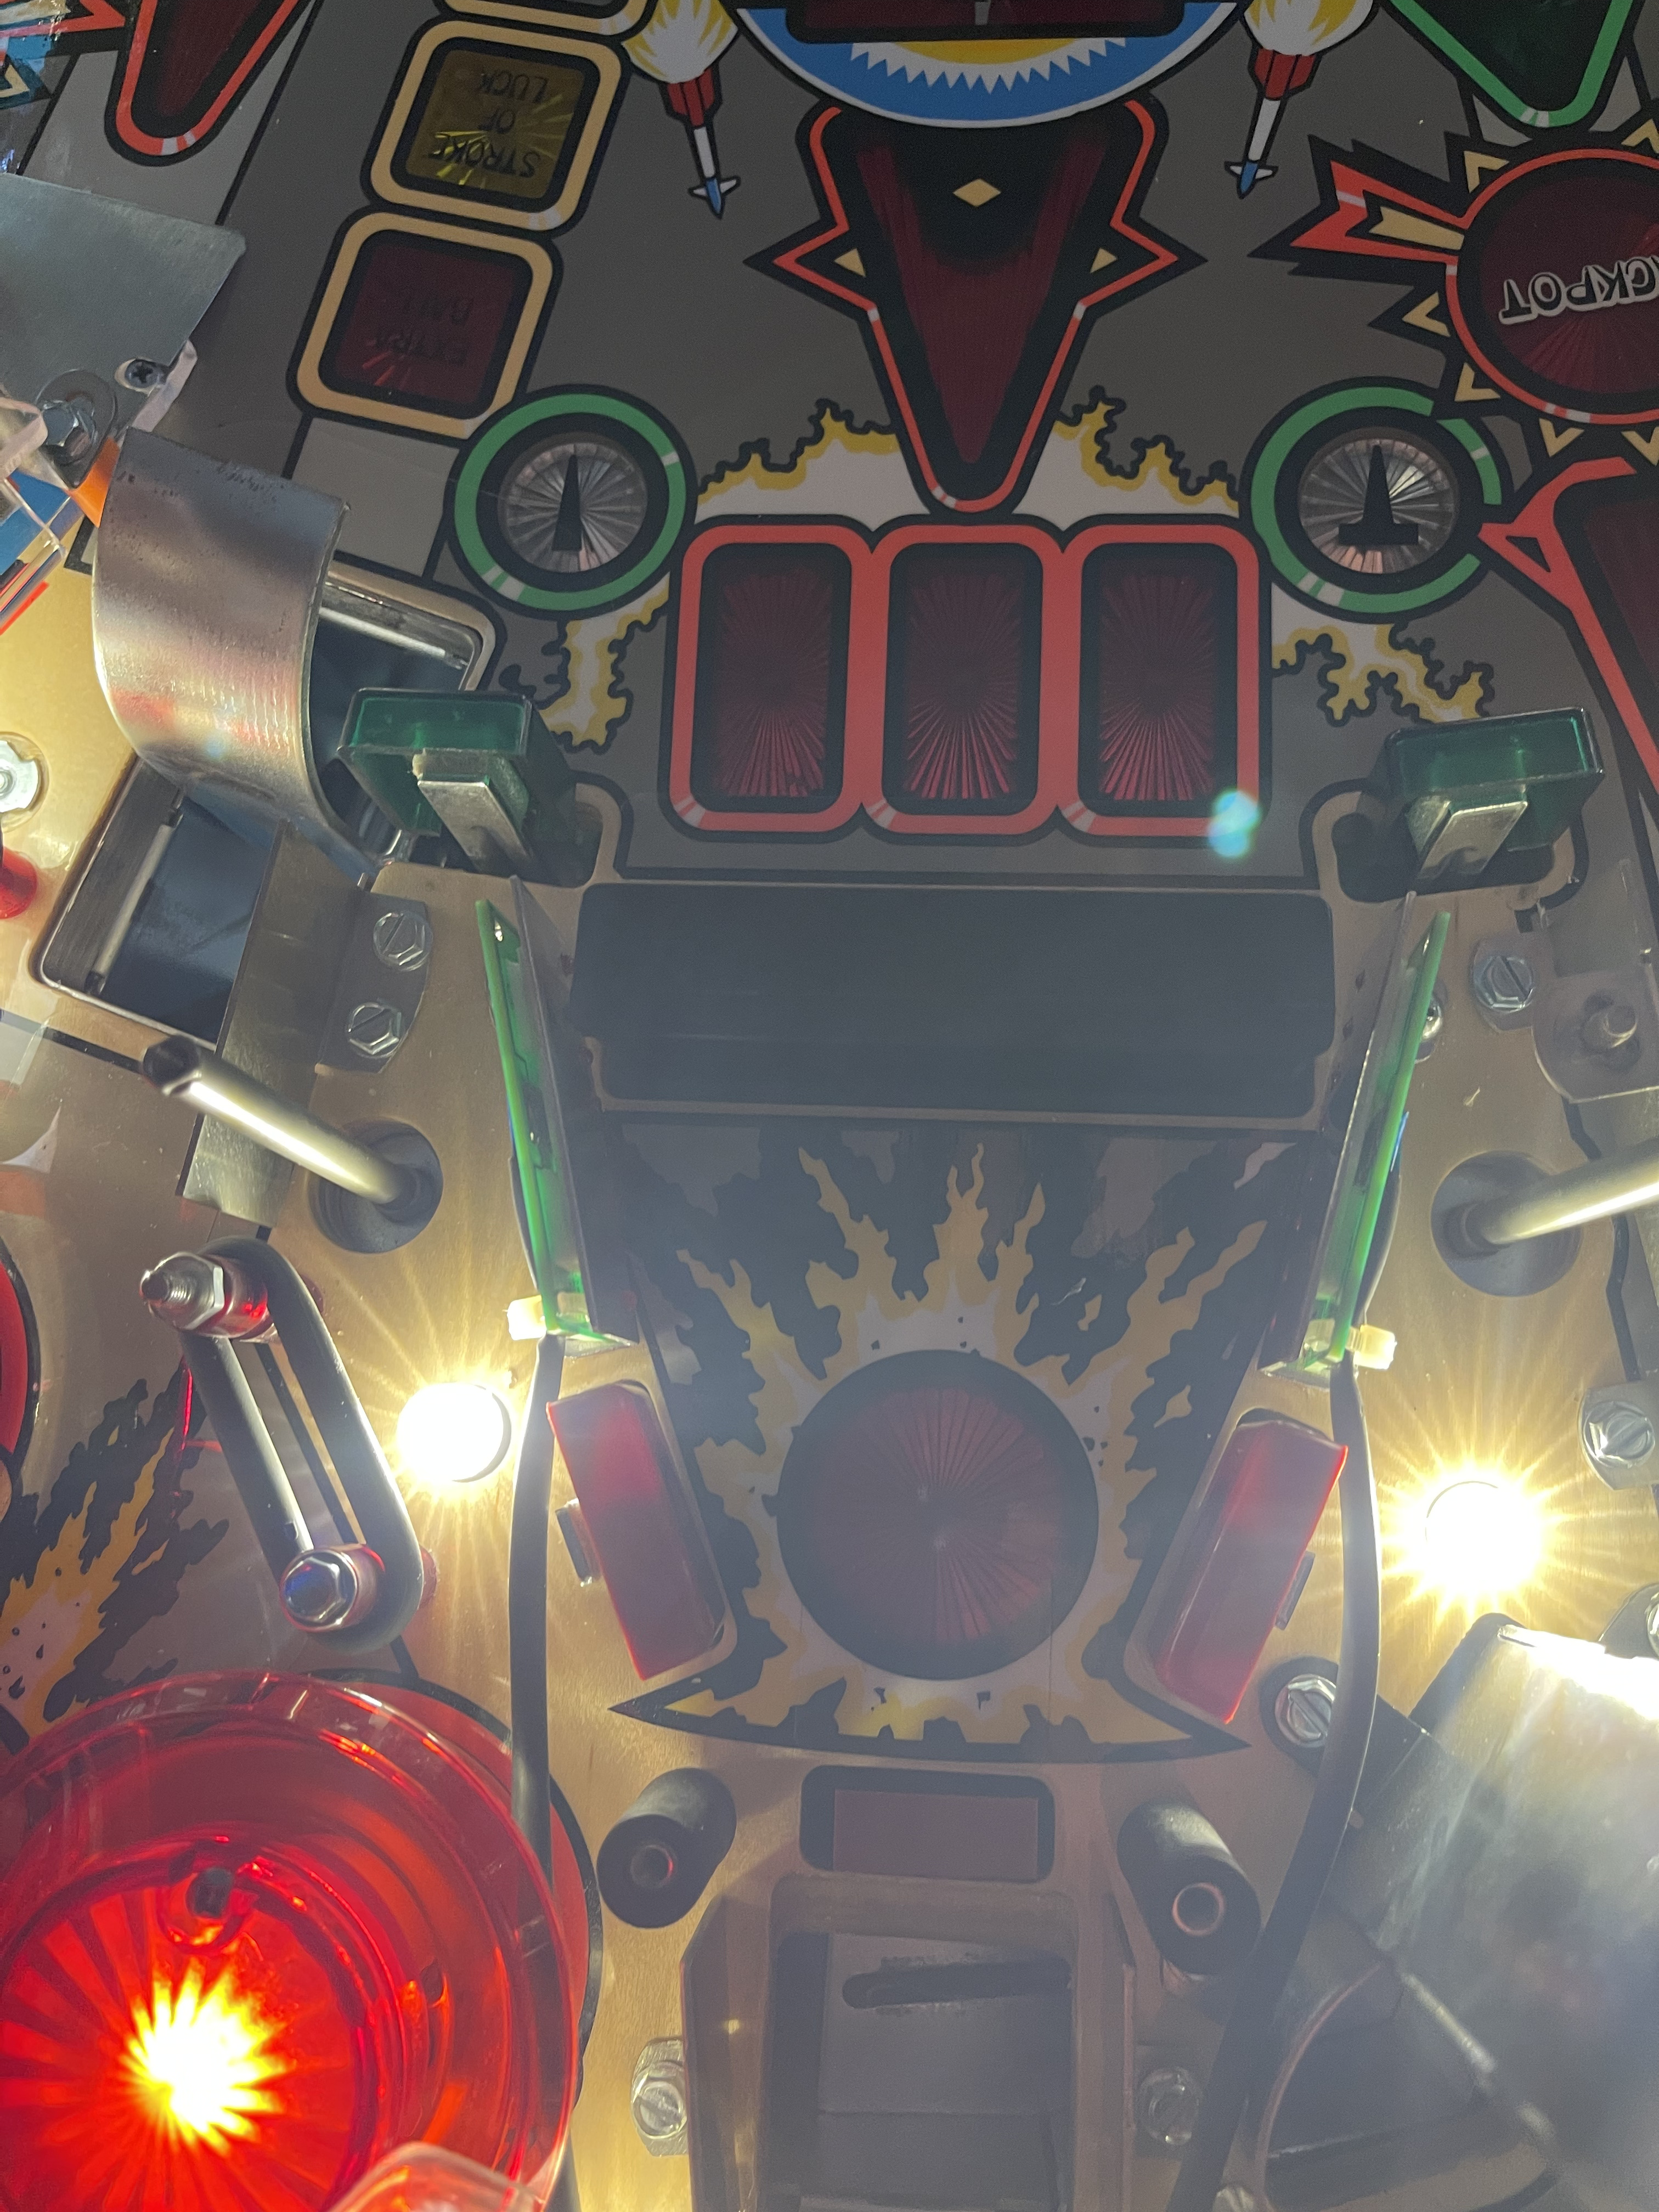
Next we will work on installing the "Hallway" LEDs (aka "Runway Lights"), located under the Mothership.
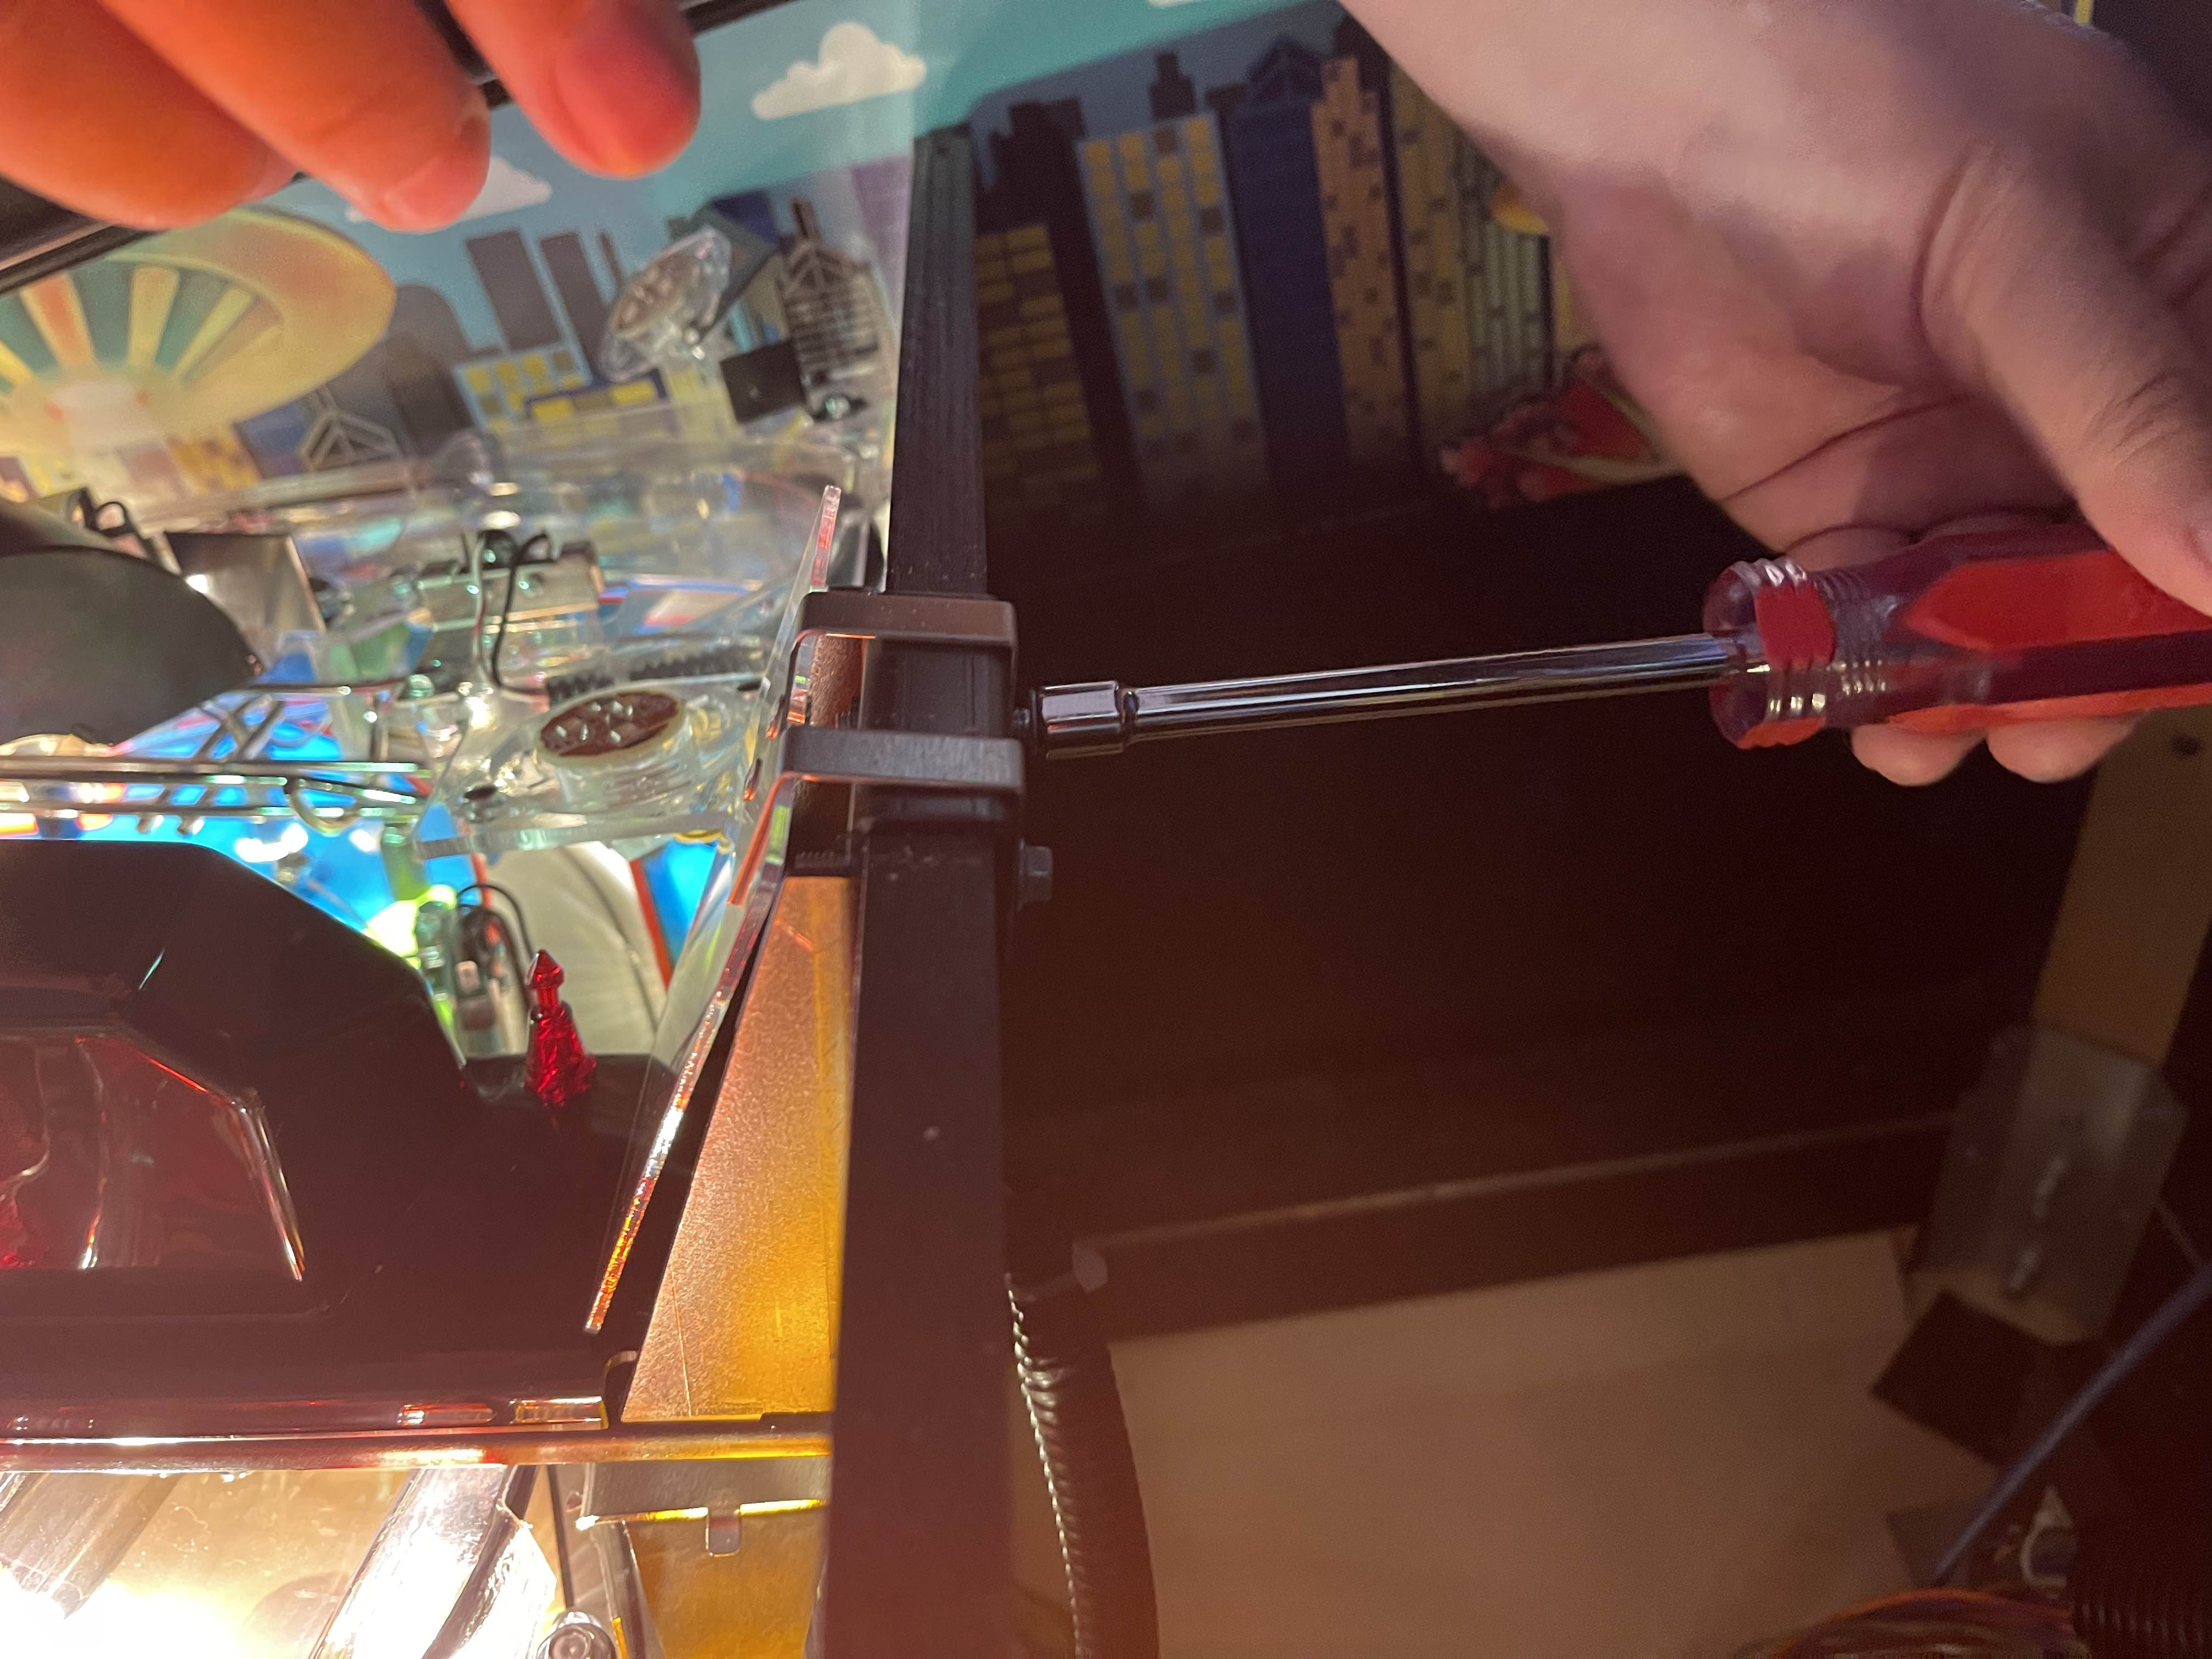
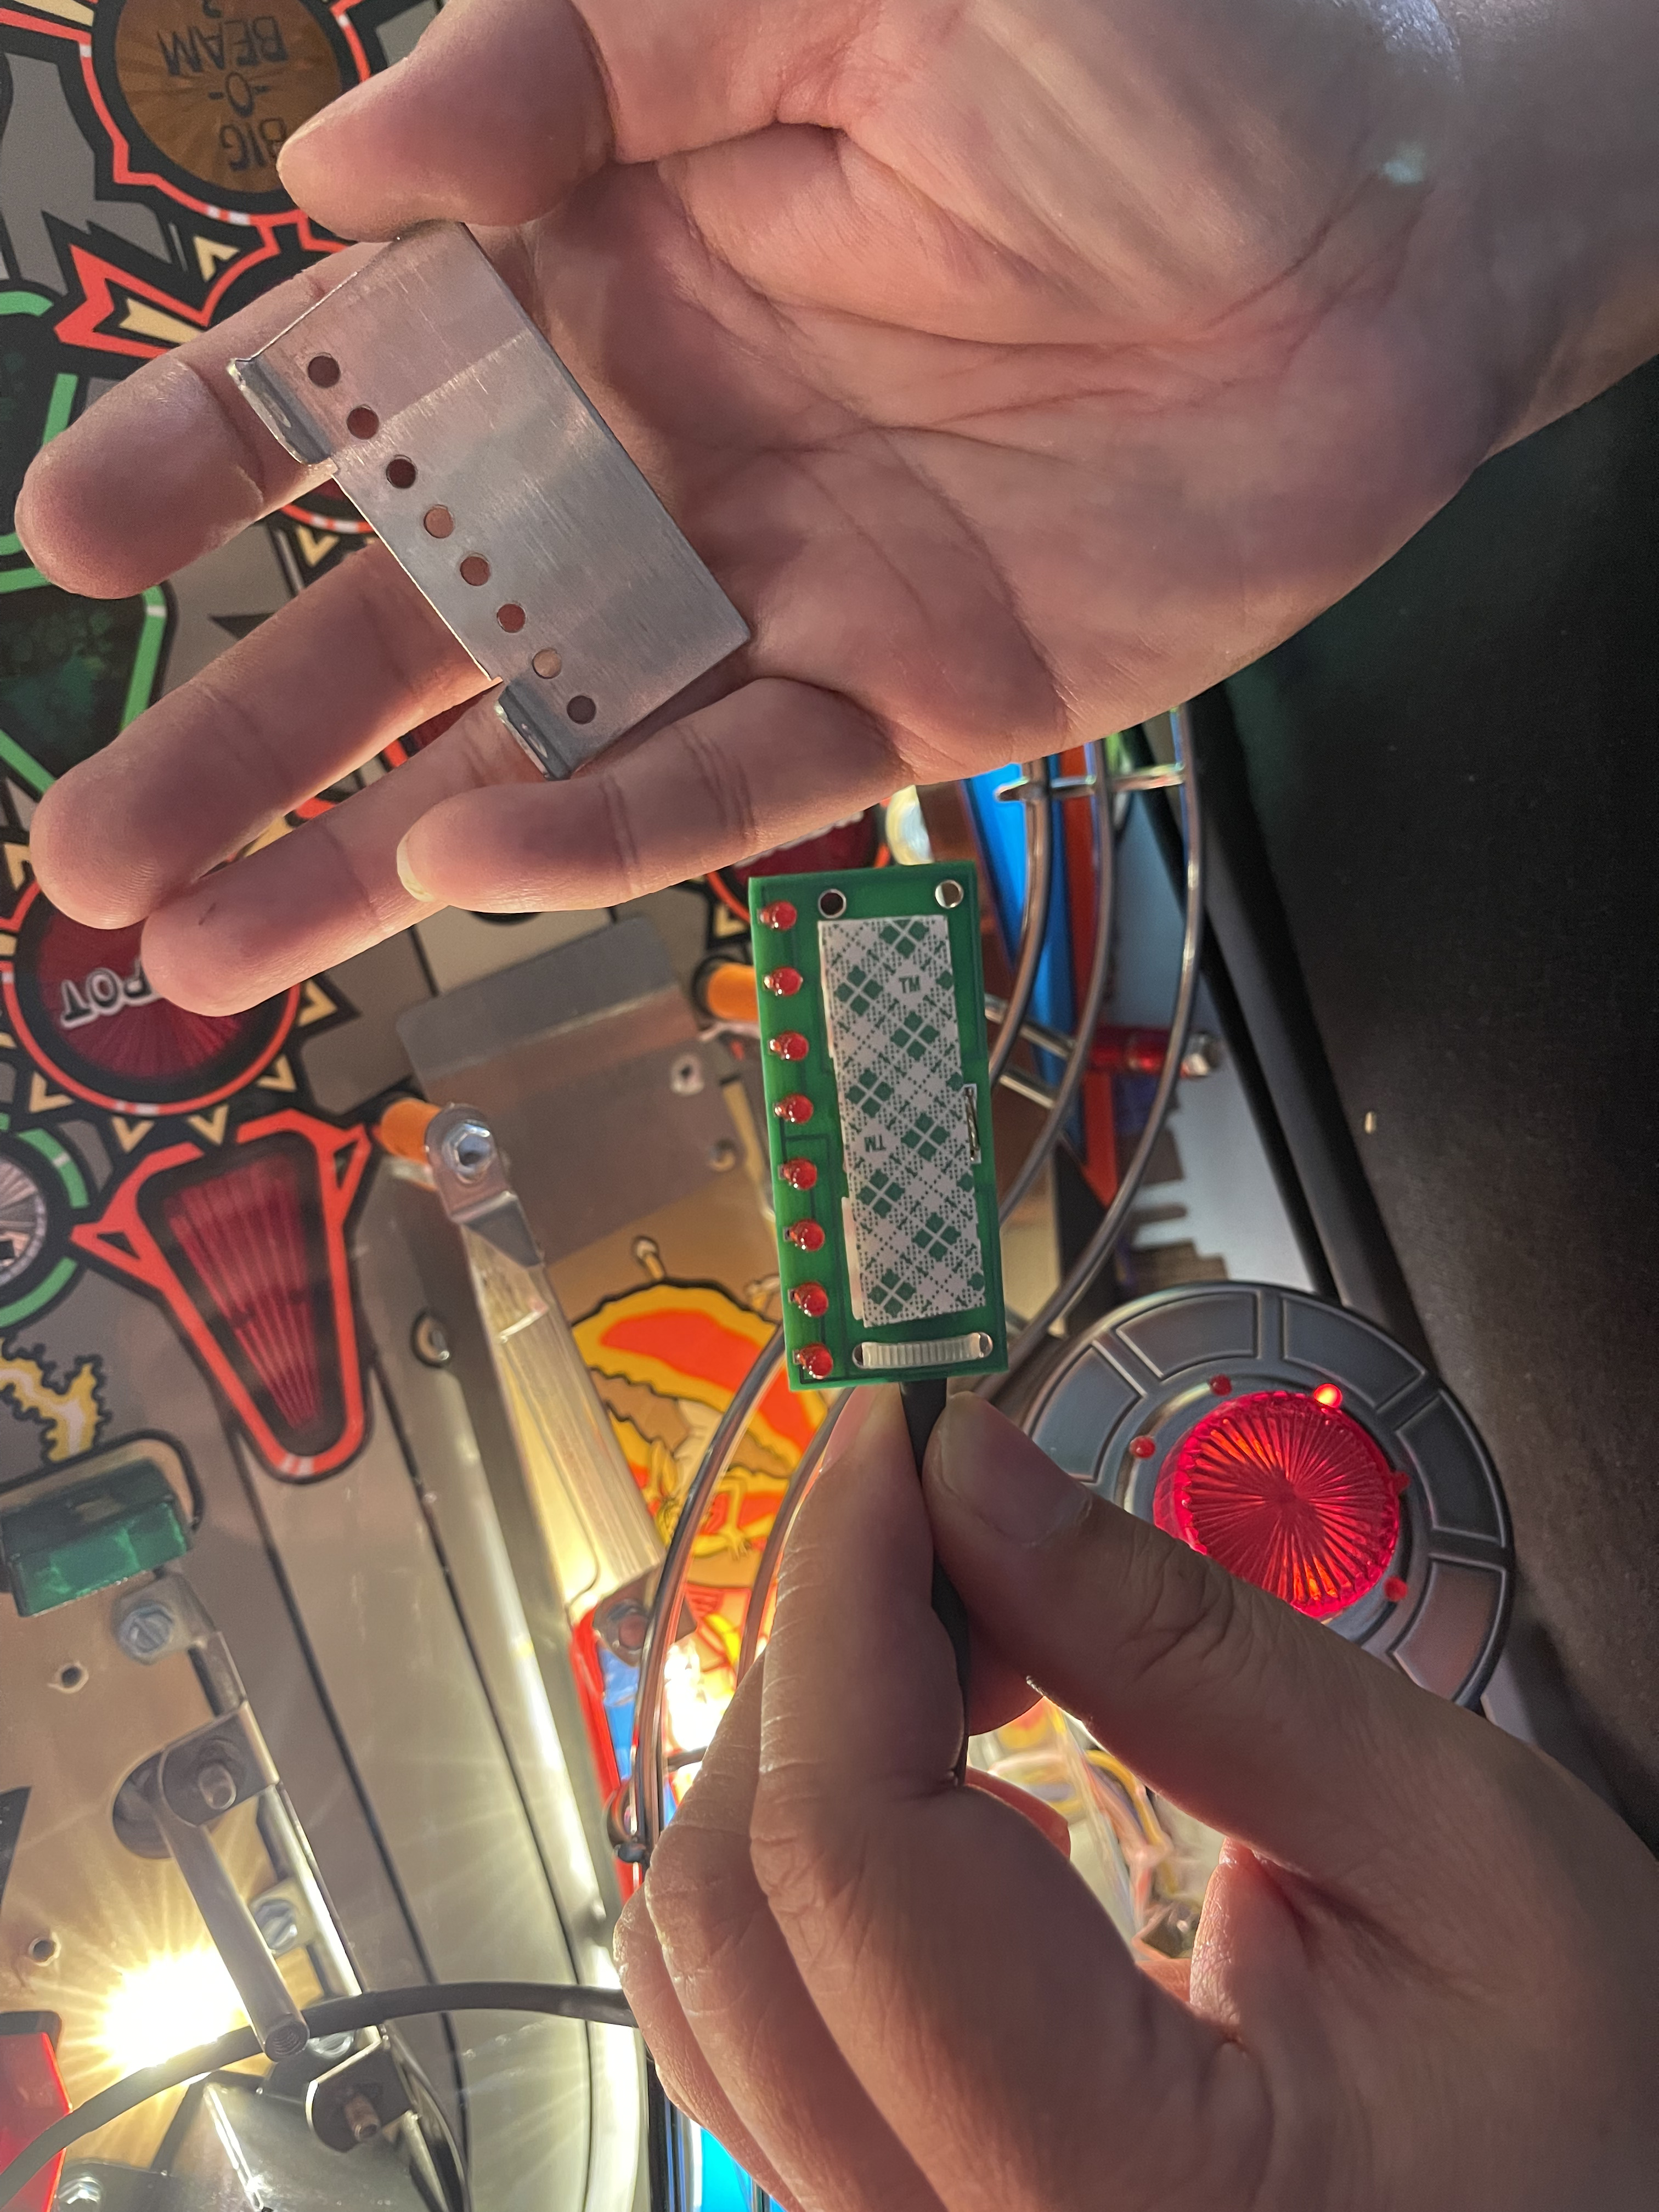
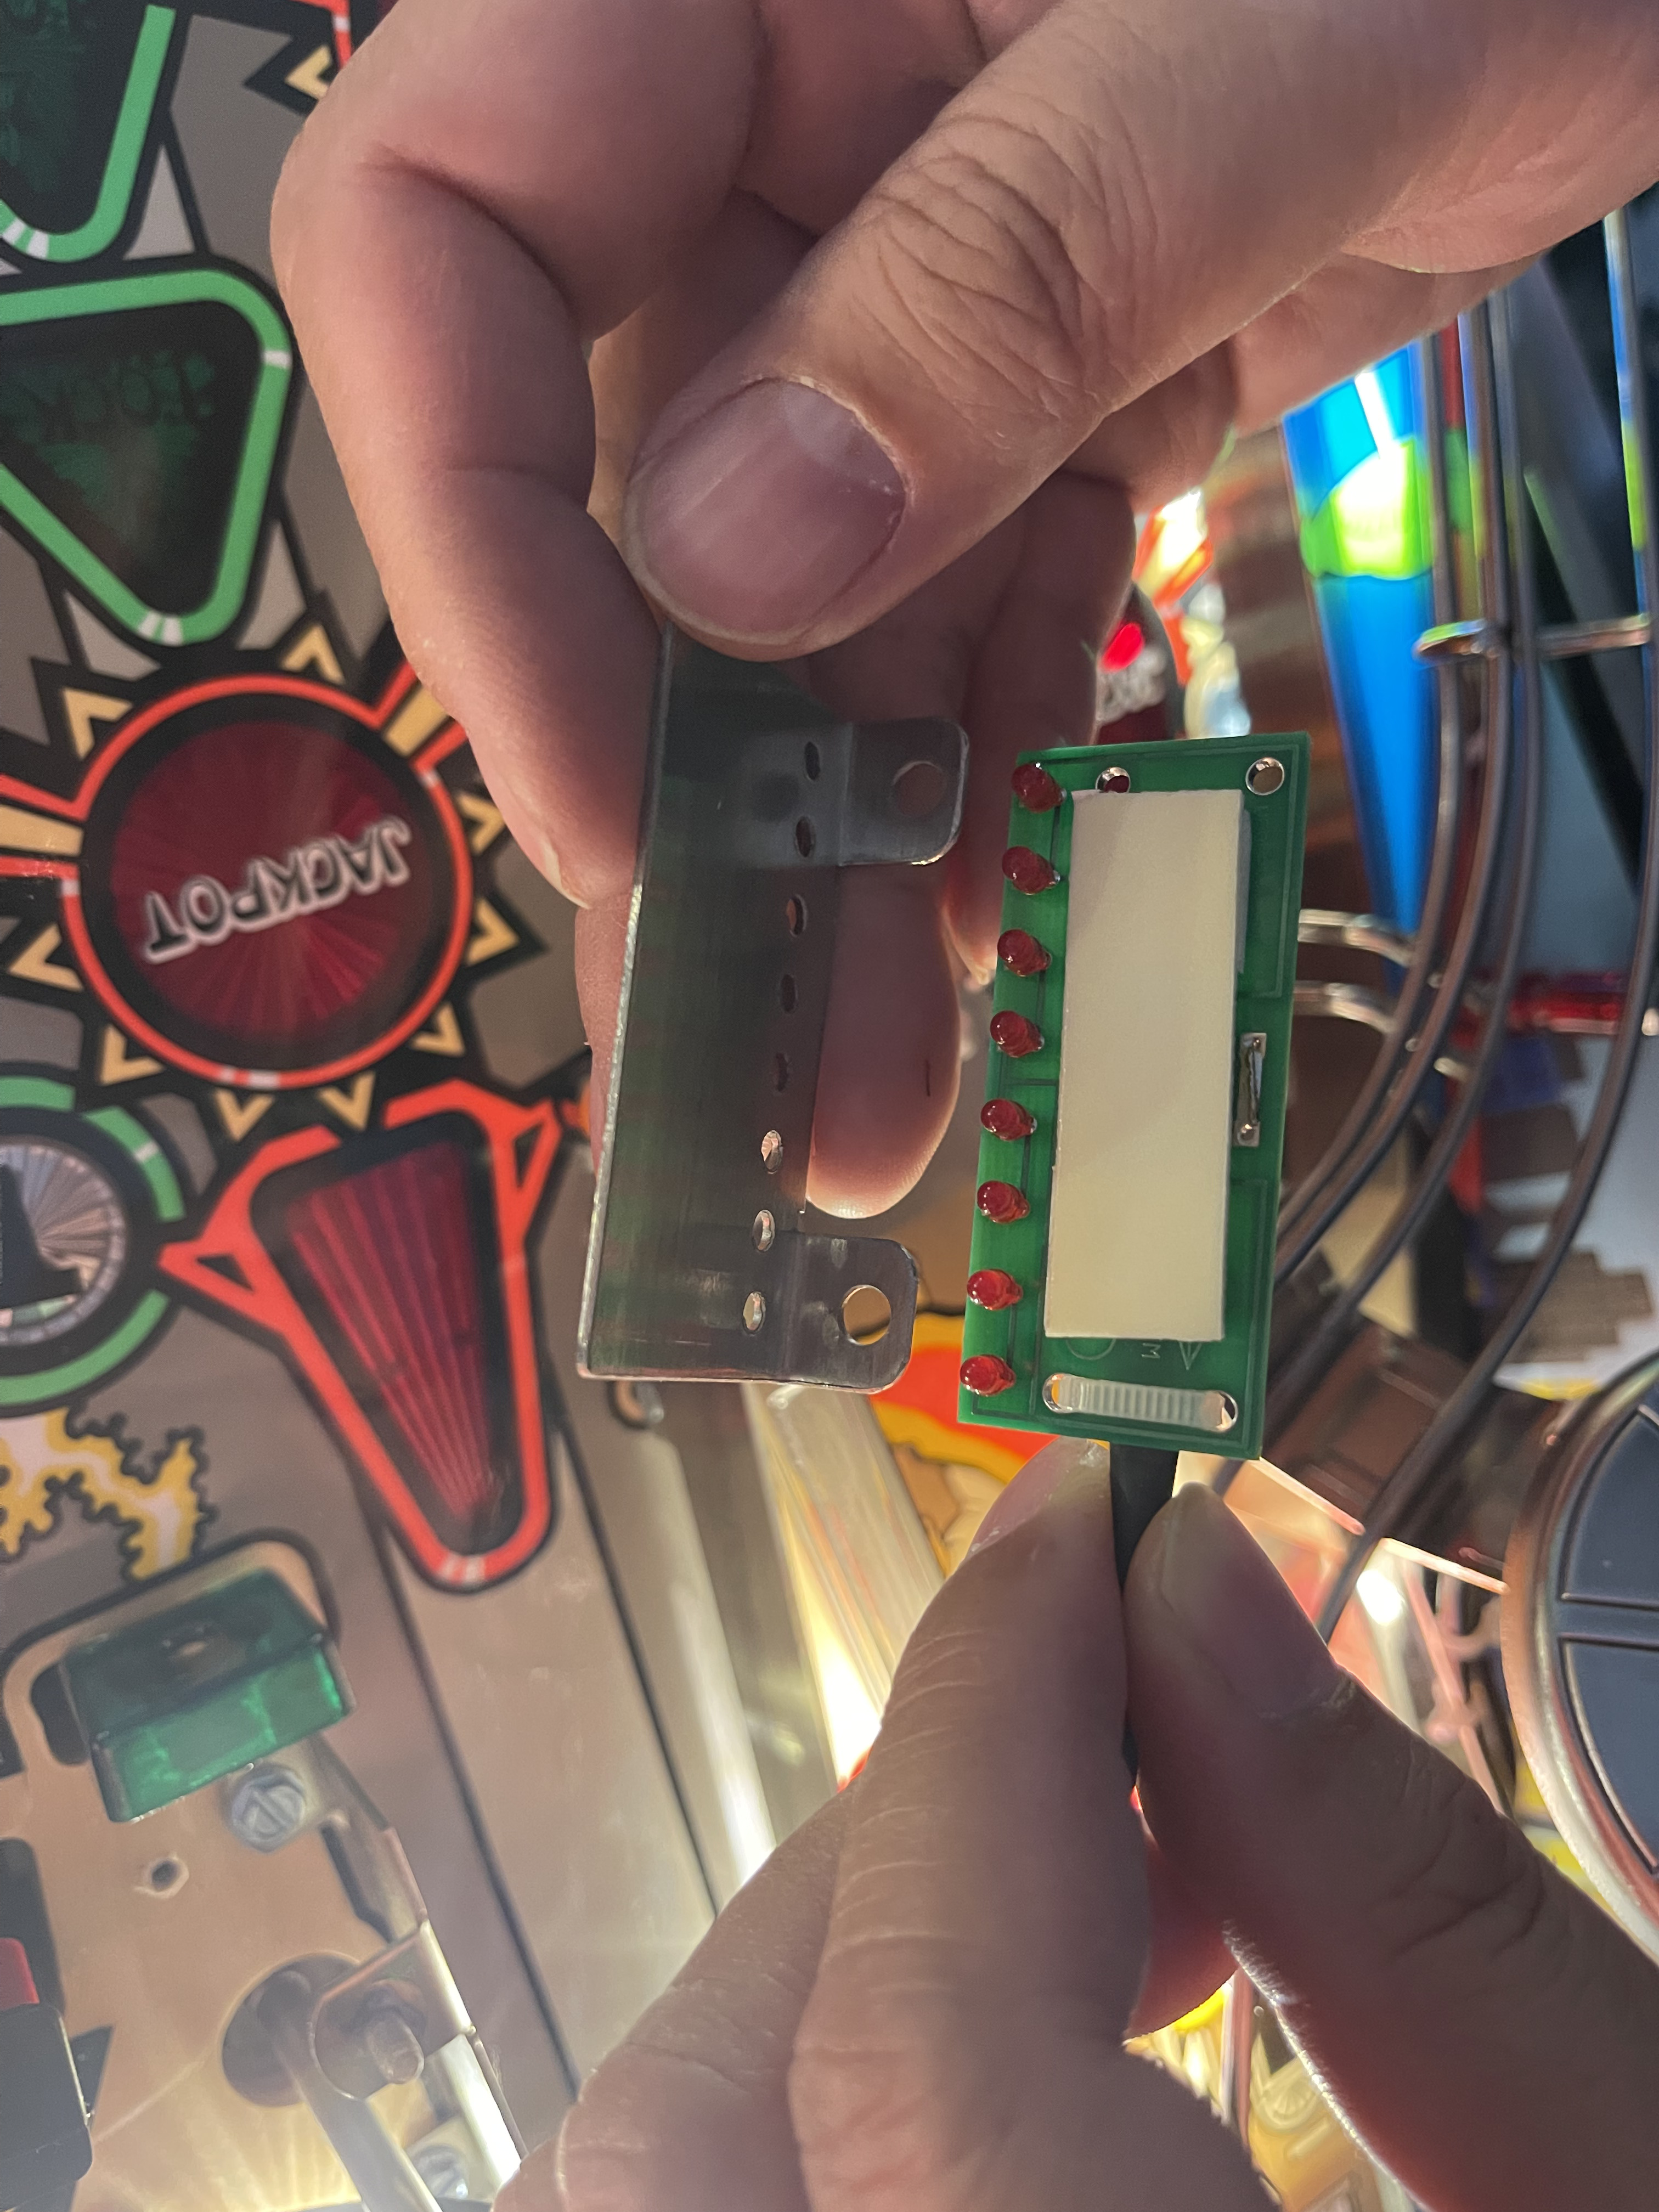
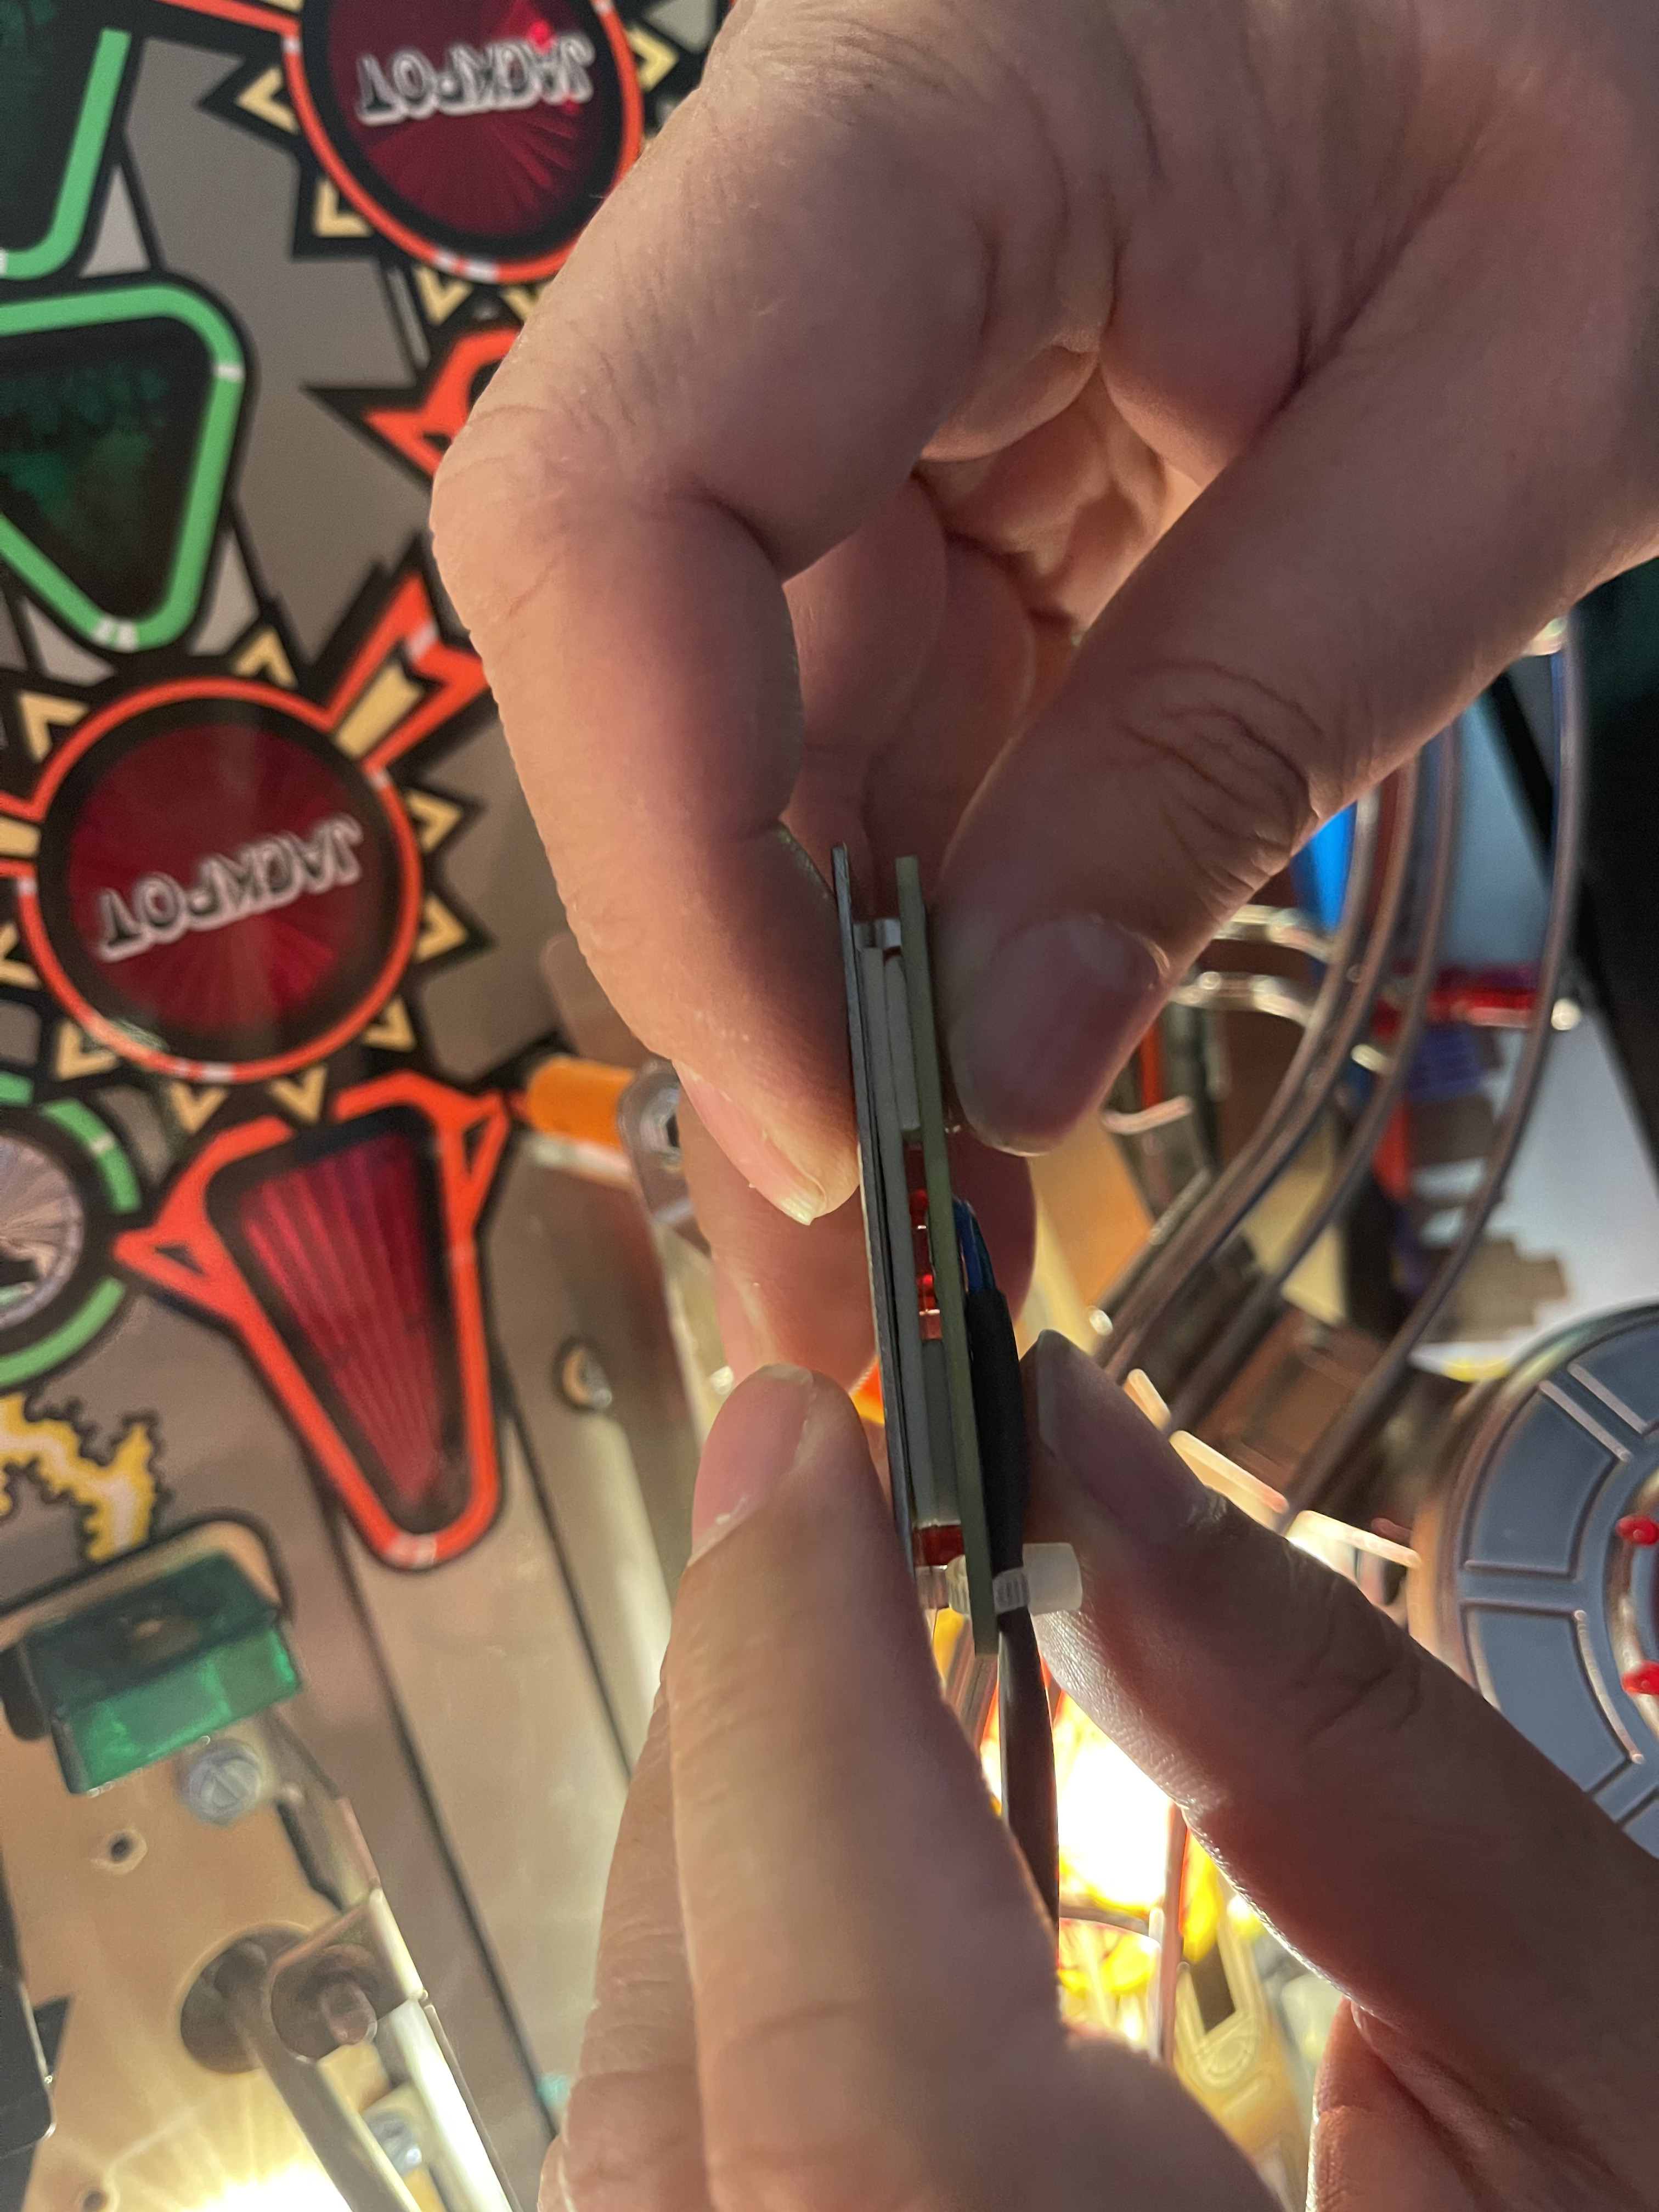
Remove the original brackets and then unwrap the new brackets. The LED boards are designed to fit through the holes. Remove the protective film, and mount the LED board onto the bracket using the supplied double-face foam tape.
Try and mount the LED board as flat as possible, to provide good clearance for the new Phillips-head screws, located in the goodie bag.
Chapter 1: Tools and preparation Chapter 2: Mounting the board(s) and connecting power Chapter 3: Inserting LEDs in the Mini-Saucers Chapter 4: Installing the mini-saucers back in the game Chapter 5: Setting up the Hallway LEDs Chapter 6: Running wiring harnesses under the playfield Chapter 7: Connecting the Backglass GI Chapter 8: Testing and jumper settings Chapter 9: Troubleshooting |

Back to the Main Page
Copyright © 2021 UFO PinballTM
www.ufopinball.com